
Proxy Tutorial for IGAssistant
10 March 20211 minutes read
Summary generated by AI:
IntagramAssistant or IGAssistant - one the most powerful bots for Instagram or TikTok. It`s an online SMM panel. The bot can get Instagram likes or followers for you, automatically send direct messages, targeting is available, automatically comment popular posts and post scheduler. It`s easy to run hundreds of accounts at the same time.
The step-by-step proxy configuration for IGAssistant
- You should log into the personal account
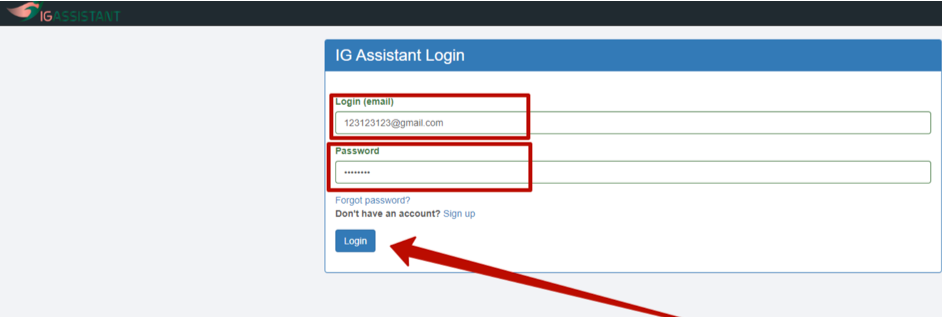
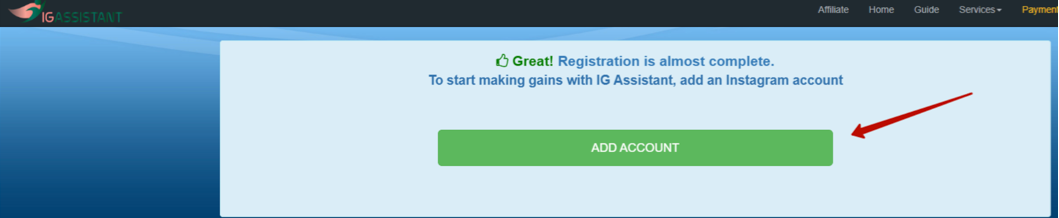
- Then, after the logging, you will find the automatically opened window that requires to join through the Instagram or TikTok account. Press the "ADD ACCOUNT" button.
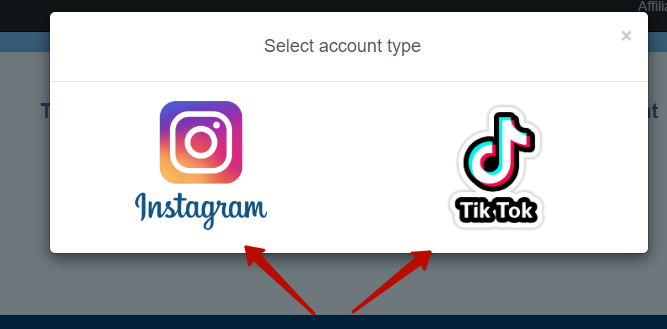
- Select the most convenient for you way to log in. We`ll choose Instagram.
- Follow the rules and press "NEXT" button.
- Fill the required fields. Username and password of your Instagram account, select the account country (means that if you have registered this account through the proxy server of, for example, USA - you should choose the United States and then this proxy server has to be tied for this account), put a tick at "Use proxy for this account".
- After this, you should fill the fields with the data of your proxy server. We recommend using only elite proxy servers. "Proxy host" field must be filled with IP (like 123.123.123.123), "Proxy port" - with port, from the drop-down box you should choose Socksv5 or HTTP, Proxy username and proxy password can be fined in order submission mail if you have purchased the proxy server from Proxy-Seller. Then, check the proxy server via pressing the "Test proxy" button.
- After checking the proxy server the result should be "Proxy is OK".
- If you have such a message "Invalid hostname or port" - you should check if the data is correct. Cause the proxy can not connect.
- If everything is OK - push the "Add account" button.


That`s it, the configuration is done properly and the account is assigned to a proxy server. The next set up for the accounts will be the same.
Also, read the proxy Tutorial for Instato.