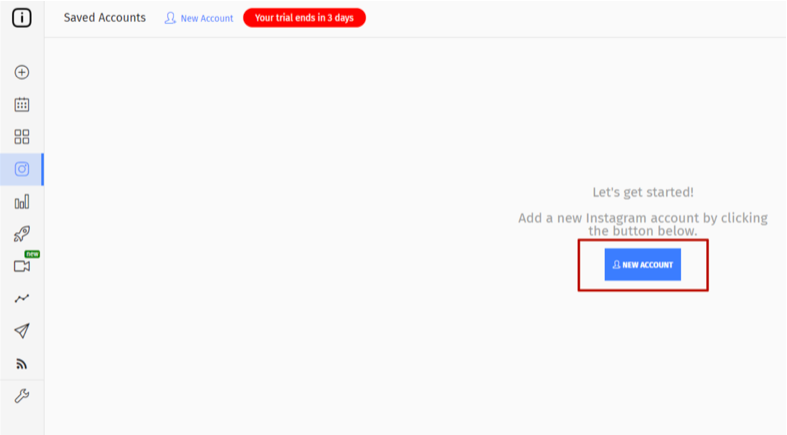
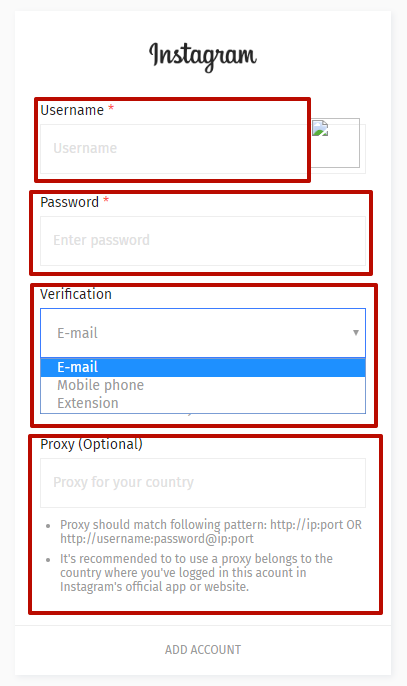
Instato is a popular social marketing tool. It’s a bot for Instagram growth. The functionality is quite good: Auto follow / like, comments, unfollow, auto DM, and post are available to any user. But it requires the proxy servers, so how to configure it?
Step-by-step proxy configuration for Instato
- You should log into your account on Instato
- After that, in your dashboard, there are available “NEW ACCOUNT” button appears. Press it.

- Instagram authentication appears. In the Username and Password field, you need to enter the username and password of the Instagram account, verification drop-down box should be chosen optionally, the proxy should be used only of a country that account was created. The format of entering the proxy data is: http://ip:port or http://username:password@ip:port - this data can be found in your order submission mail of purchased proxies. We recommend using only elite private proxies. And press “ADD ACCOUNT”

- That’s it. If the configuration is done properly there won’t be any errors. If you have any - try to check your entered data.
It is important to understand proxy types.
- After that, you will be able to work with the account.
