
How to setup Elite proxies in Proxy Switcher
10 March 20211 minutes read
Summary generated by AI:
Video guide for setting up a proxy in Proxy Switcher
Step-by-step proxy settings in Proxy Switcher
Proxy Switcher - is a software program that allows you to set the proxy up on any browser. It is available for Windows, the program will allow you to hide your real IP. It will let you access blocked sites. Let’s clarify how to set up elite proxies in the proxy switcher.
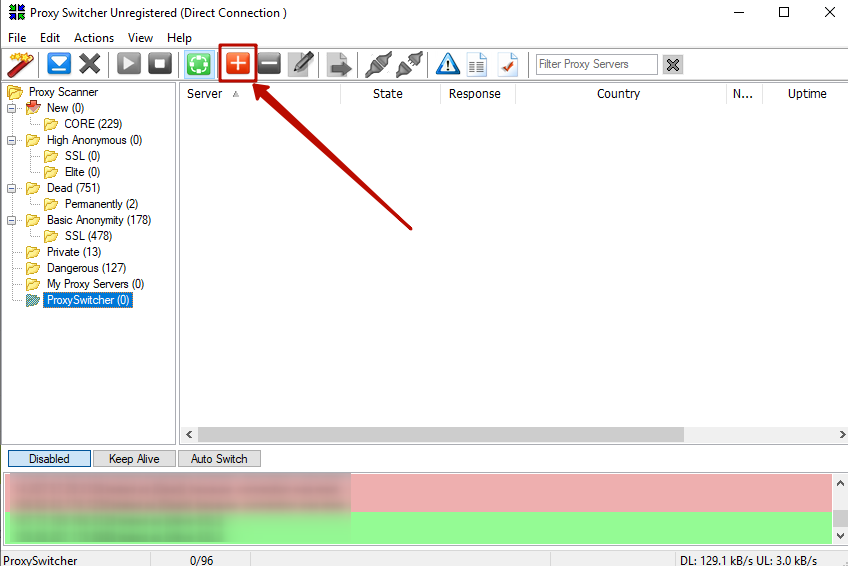
- Run your application and press the “Add New Proxy Server” button.
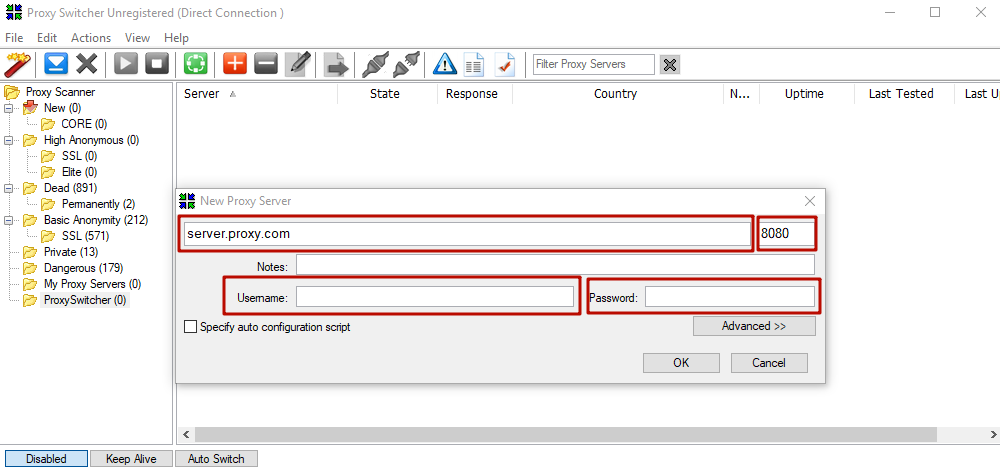
- In the newly opened window instead of “server.proxy.com”, you should put your IP address of a proxy server, 8080 is a port number. IP and Port, Username and Password information often is displayed at a personal control panel or in the order submission mail, if you have bought the elite proxy server from Proxy-Seller. Username and password requirements for authentication of a proxy server if you have chosen the IP authorization method in the order form - you don’t need to fill these fields.
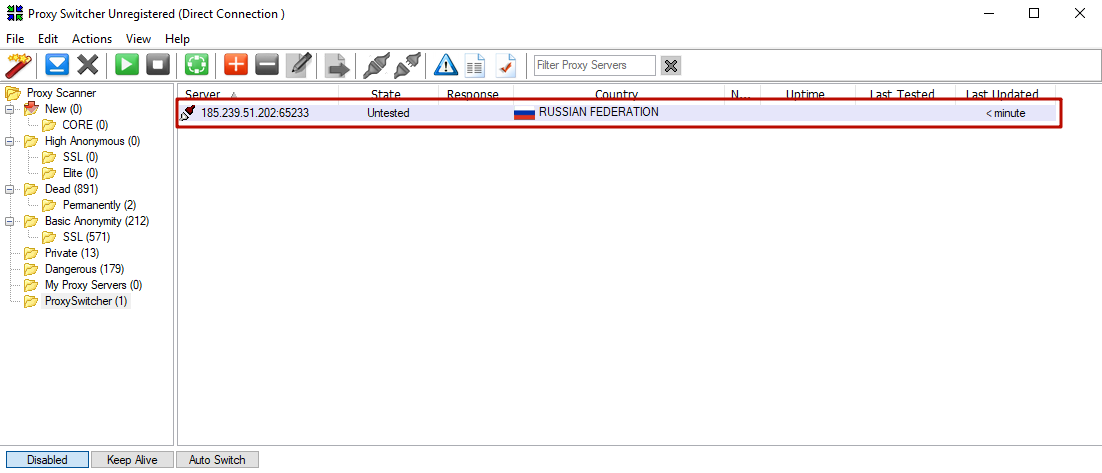
- We will take our own proxy server for an example. After filling all the necessary fields press the “OK” button. And you can see your newly added proxy server.
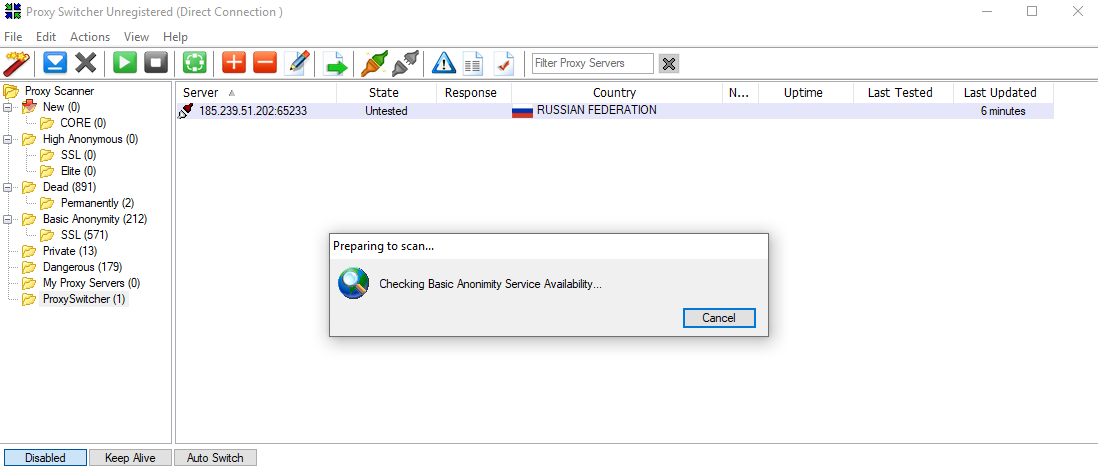
- Press the right click on this proxy server and press the “Test this Server” button.
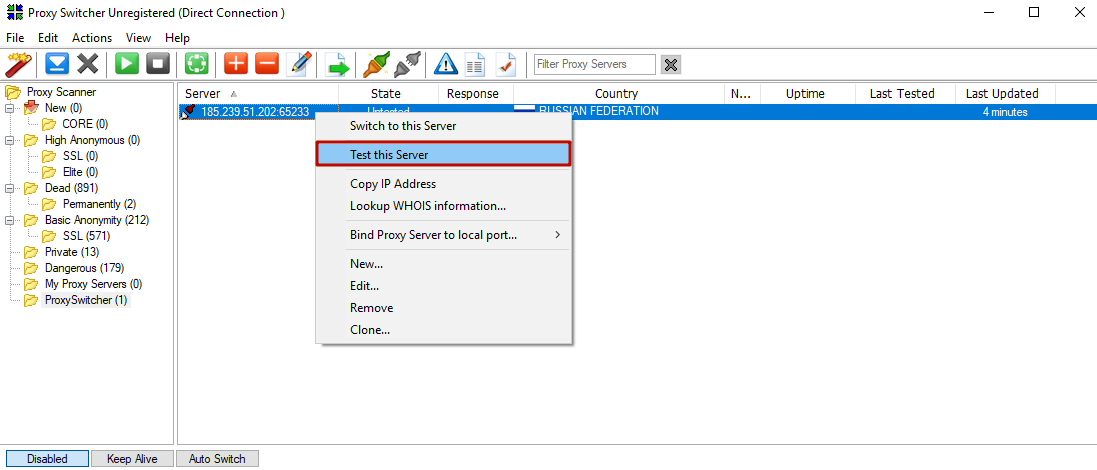
- Wait till the scan is finished.
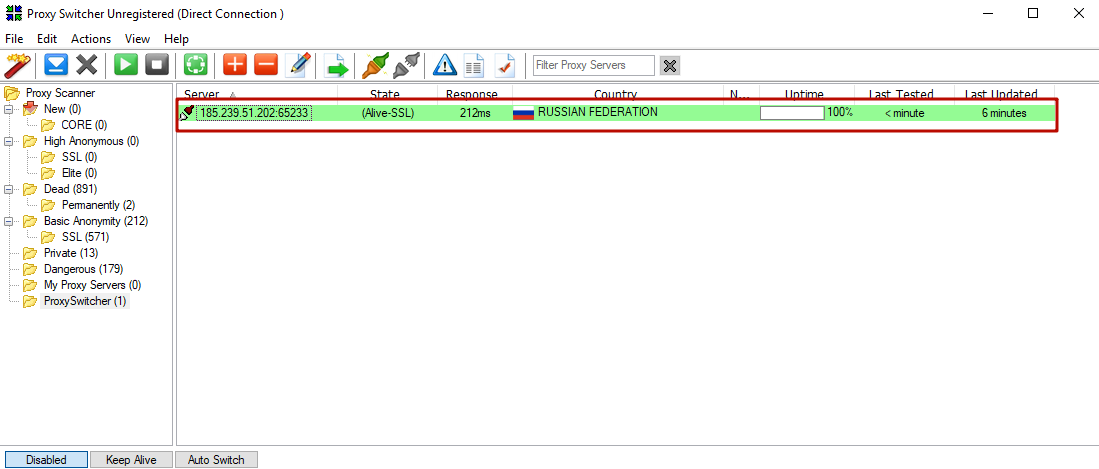
- If the settings are done correctly - your proxy server will be highlighted with a green color.
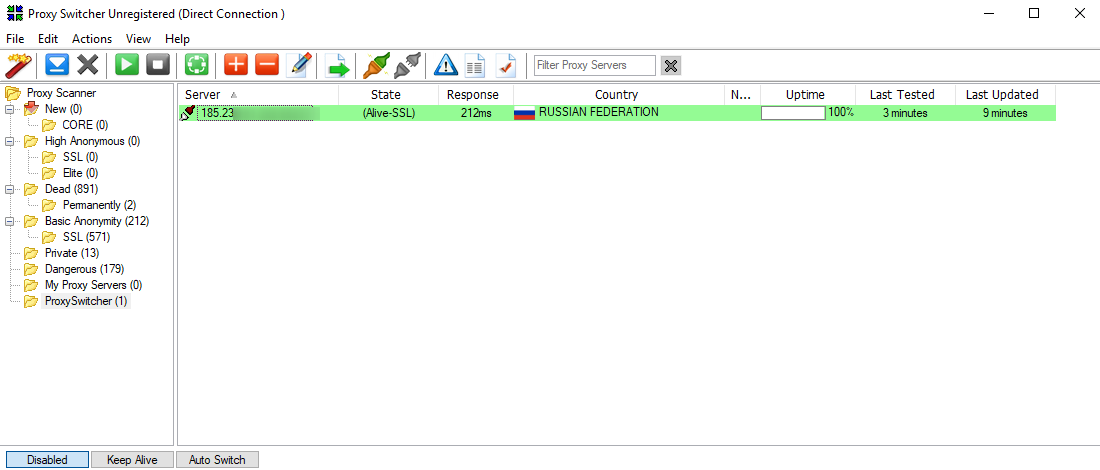
- To use this proxy server you should press the right click of the mouse once again. Then, press the “Switch to this Server” button.
That’s all. The configuration is done, if you faced any problems with the setting - check every field once again. Everything should be done as in our guide.