Setting up a proxy in Dolphin{anty} browser

Comments: 0

Dolphin{anty} is an anti-detection browser primarily developed for professionals in fields such as traffic arbitration, cryptocurrencies, and e-commerce. The functionality of this anti-detection tool allows for the creation of multiple profiles, each with its proxy settings, a key feature for multi-accounting that helps avoid blocks during mass account registration and management. In addition to proxy configuration, Dolphin{anty} enables the creation of a unique fingerprint or the generation of a random one when setting up a profile.

Step-by-step proxy setup in Dolphin{anty}

To configure a proxy in Dolphin{anty}, you'll need to create a browser profile by following these steps:
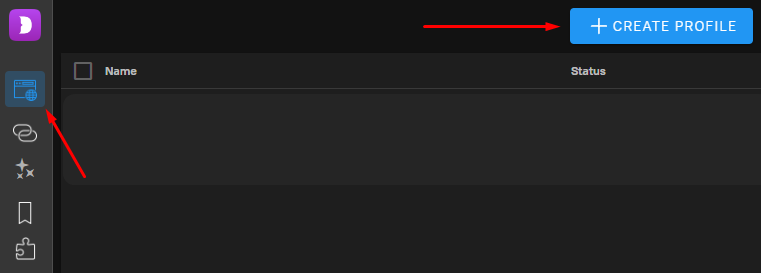
  1. Launch Dolphin{anty} and click “Create Profile” in the “Profiles” tab.

    1en.png

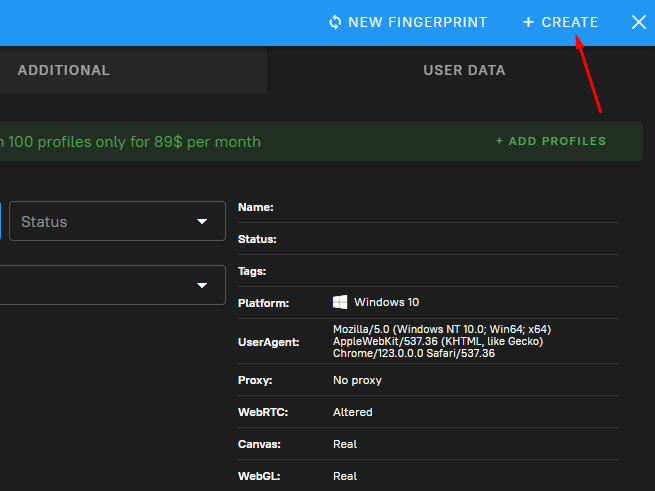
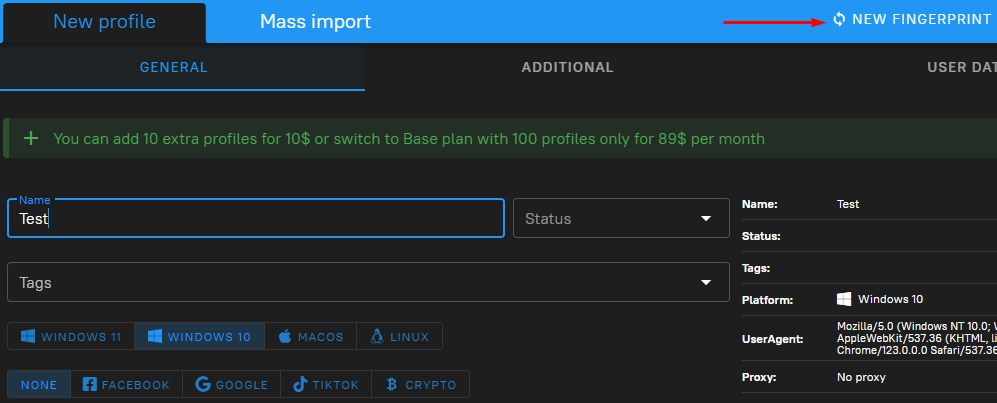
  2. In the window that opens, fill in all the profile data. In this menu, you can manually configure the digital fingerprint or click the “New Fingerprint” button to generate one randomly.

    2en.png

  3. Locate the “New Proxy” item and click on it. Select the necessary protocol, then enter the proxy details: IP address, port, username, and password separated by colons. Dolphin{anty} will automatically check the proxy for functionality and display the location.

    3en.png

  4. There is also an option to specify a link for IP rotation if using a mobile proxy and give it a name for easy identification when distributing the proxy among profiles later.

    4en.png

  5. To finalize the setup, click “Create” in the upper right corner.

    5en.png

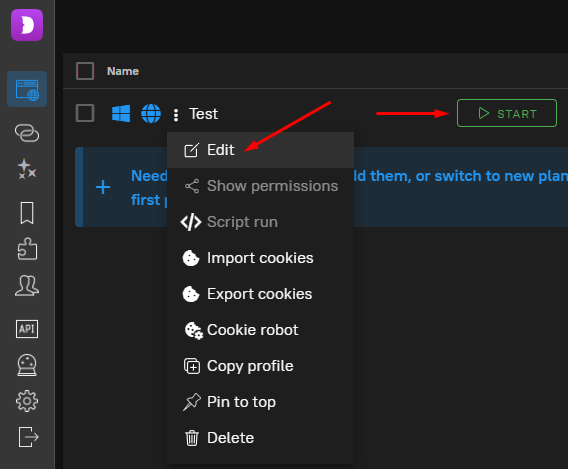
  6. The profile with the configured proxy will be displayed in the “Profiles” tab. If necessary, you can click the three dots to the right of the name to edit or change the proxy for this profile. To start working with the profile, click the “Launch” button.

    6en.png

In the Dolphin{anty} anti-detect browser, there is also an option to import a list of proxies for distribution among accounts. To do this, follow these steps:

  1. Open the “Proxy” tab on the left panel and click the “+” button.

    7en.png

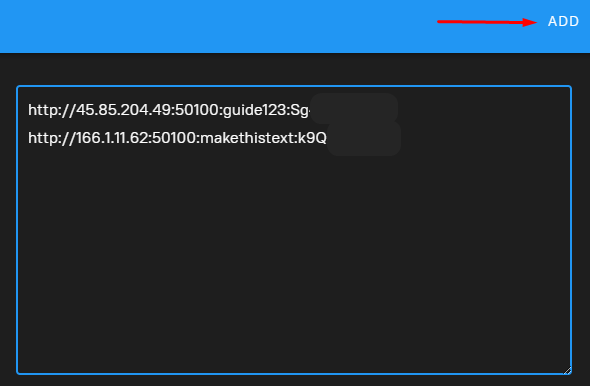
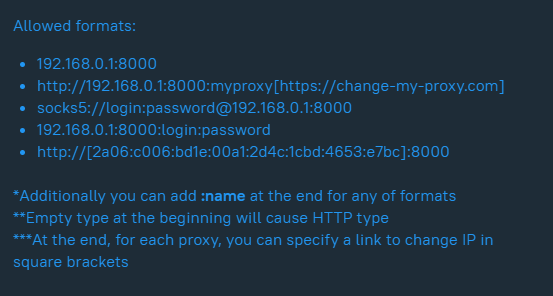
  2. On the left, the available input formats will be displayed. Paste the list of proxies in the selected format into the fields on the right and click the “Add” button.

    8en.png

    9en.png

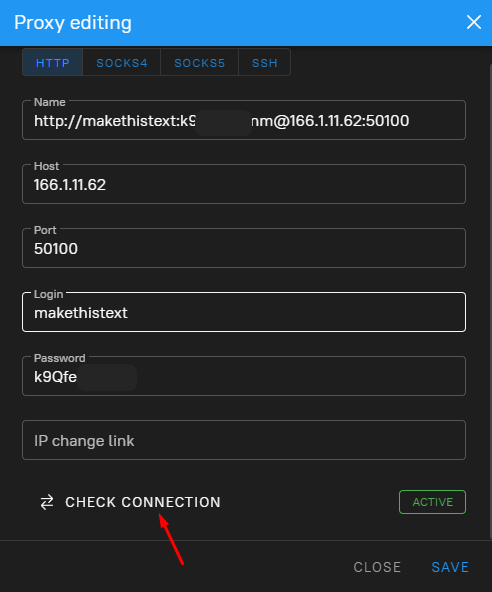
  3. The imported proxies will be displayed in the “Proxy” tab. By clicking on a specific proxy, you can check the connection and, if necessary, add a link for IP rotation.

    10en.png

    11en.png

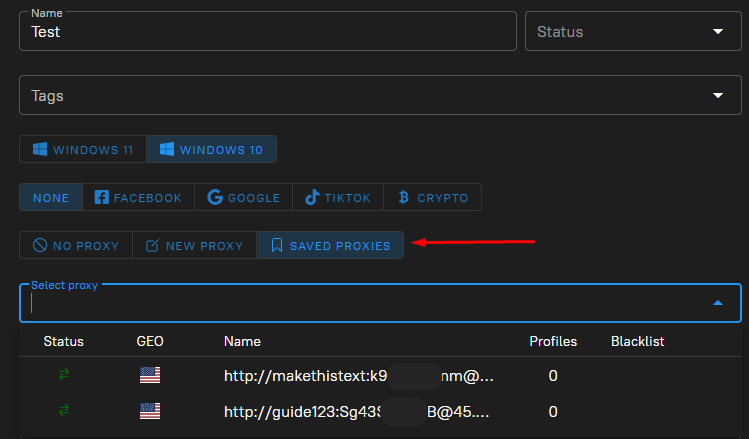
  4. Later, when creating or editing a profile, instead of manually setting a proxy, you can simply select it from the list and link it to a specific profile.

    12en.png

The proxy setup in the Dolphin{anty} anti-detect browser is complete. The browser provides a comprehensive toolkit for working with proxy servers, allowing you to configure profiles based on specific tasks and work characteristics.

Comments:

0 comments