
 en
en  Español
  中國人
中國人  Tiếng Việt
  Deutsch
  Українська
  Português
  Français
  भारतीय
  Türkçe
  한국인
한국인  Italiano
  Gaeilge
  اردو
اردو  Indonesia
  Polski
 Brave Browser, built on the Chromium engine, shares similarities with Google Chrome but places greater emphasis on security and user anonymity while browsing. Compatible with Windows, Mac, and Linux, Brave supports proxy server usage. However, it lacks direct proxy configuration within the browser settings. To assign a specific IP and proxy for Brave, you need to modify the entire Windows system configuration.
Configuring a proxy in Brave Browser on a Windows PC enhances privacy and bypasses blocking and regional restrictions. Here's how to set it up:
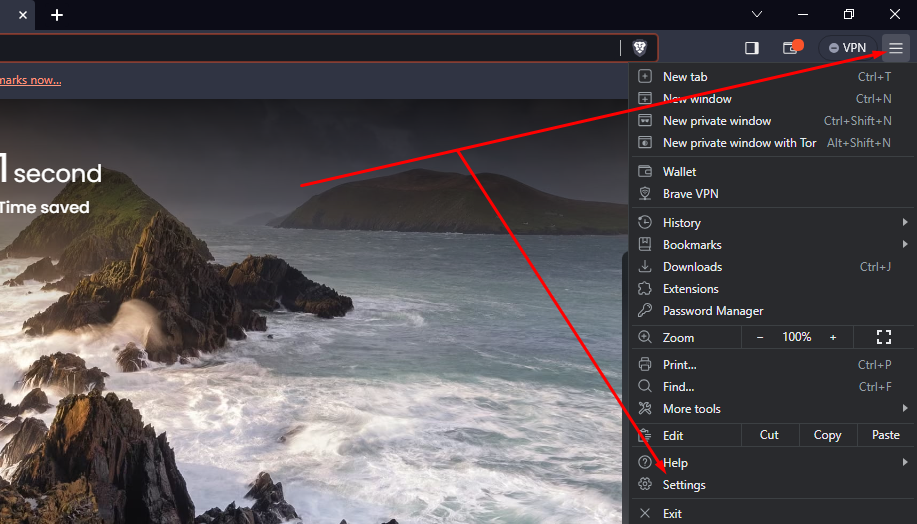
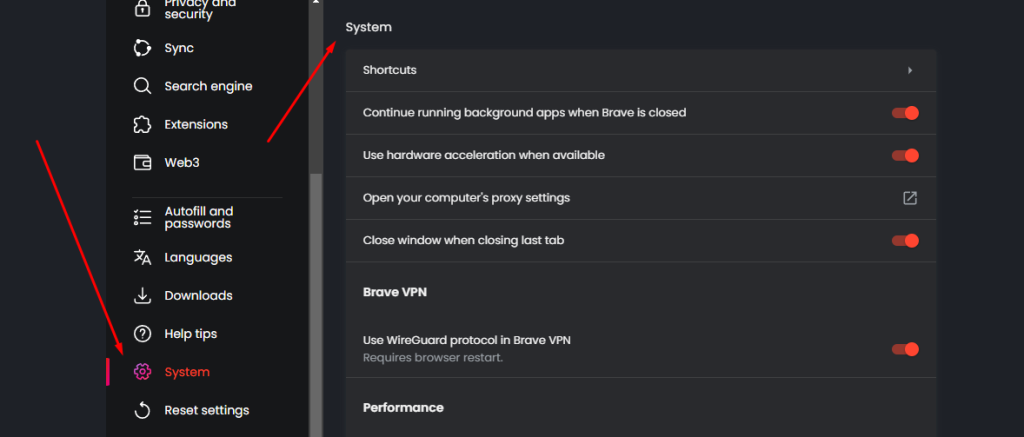
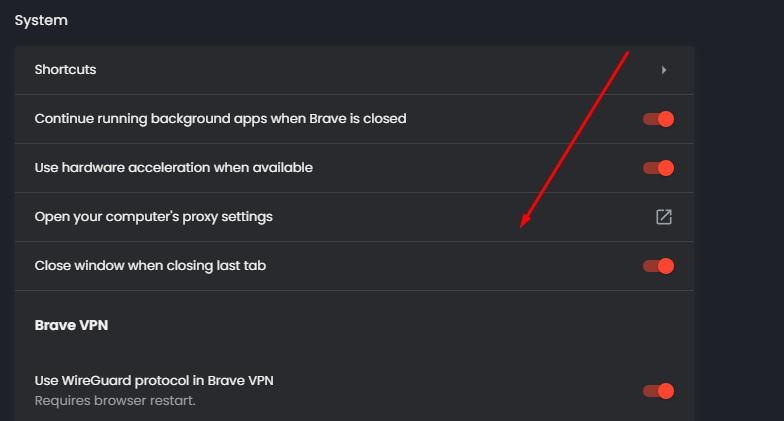
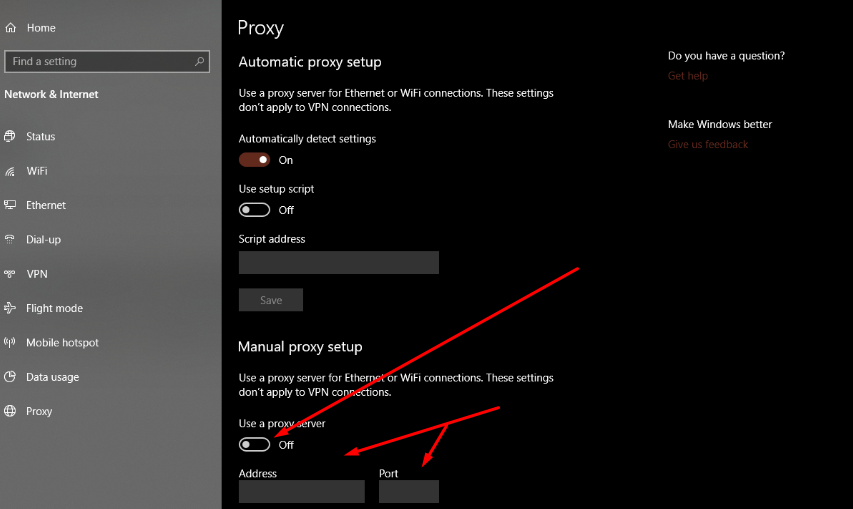
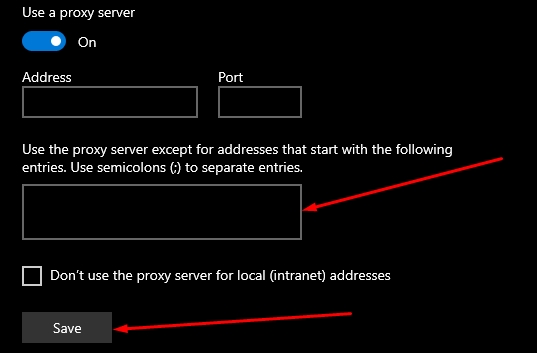
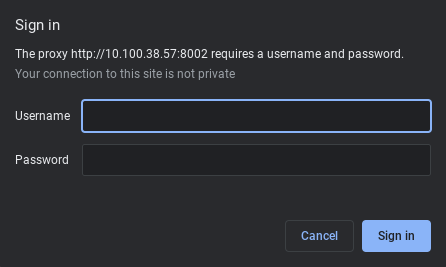
Note that Brave Browser supports both HTTP and SOCKS proxies, with the protocol selected upon IP purchase from the provider. For a stable connection and privacy, it's advisable to use reliable private IPs, as public proxies don't offer the same quality and security.
Comments: 1