Proxy to bypass PlayStation Network locks

Comments: 0

Limitations and blocking not so long ago effected online games and services. PlayStation Network has become unavailable to residents of the CIS countries, for which there have been many complaints. In this article, we will demonstrate 2 ways to bypass the block that can be used to restore access to the PSN: changing the DNS server on the router and connecting the proxy to ps4 in the console configurations.

Video guide for setting up a proxy in PS4/5

Method 1: bypass blocking in PS through DNS change

First, we go into the settings: we write in the browser search bar any of these addresses: 192.168.1.1 (most suitable for those with an Asus router) or 192.168.0.1 (for TP-Link device owners). Do not forget that you need to be connected to the Internet.

The page for entering the login and password will open. Enter the word “admin” in both lines if the settings are set by default and you did not change anything. If “admin” does not work, then, all the same, the router settings have been changed and you need to enter the data you specified. If you forget them, you will have to reset the settings: hold down the power button on the router.

When you can log in to the system, you will see a window with the device settings in the browser. We need only basic configurations. On Asus routers, these parameters are located in the Internet section.

Next, you need to find the item "Configure DNS". If there is a checkmark about automatic connection, you need to remove it and in the window that appears, enter the DNS address.

Method 2: Bypass PlayStation Block Using a Proxy

The second way to solve the PlayStation problem is through a proxy server. With it, access to the PSN will be provided, as well as a fast Internet connection and low ping.

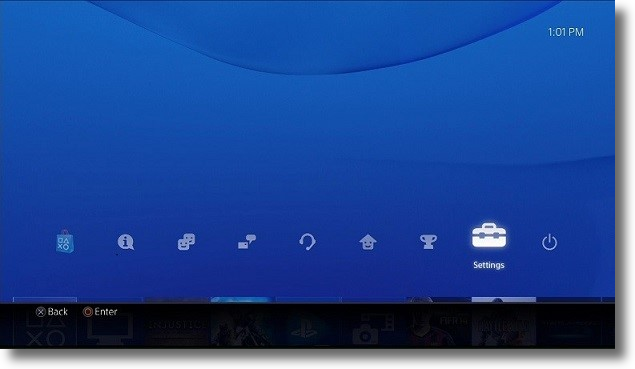
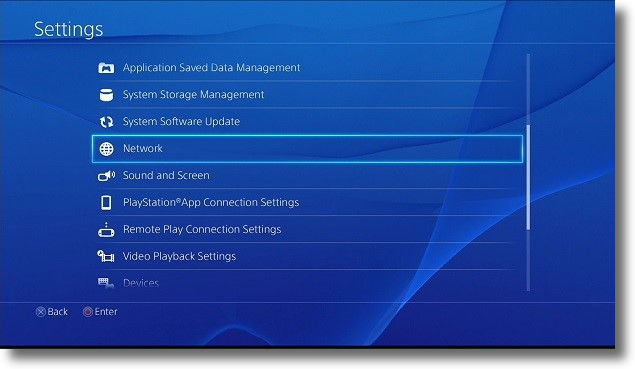
  1. First, go to the settings, look for the “Network” menu item, press it.

    Go to the settings, press the «Network» menu item

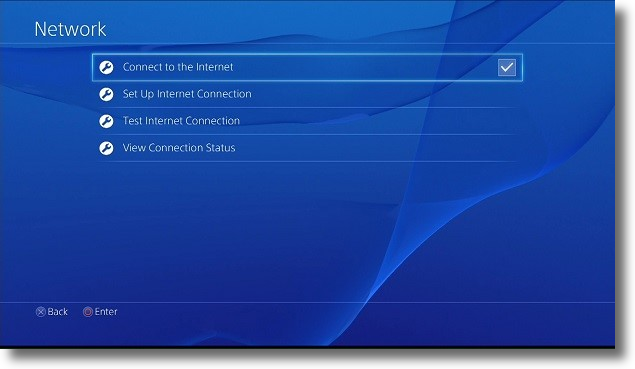
  2. In the window that opened, click the "Set up Internet connection" button.

    Click the «Set up Internet connection» button

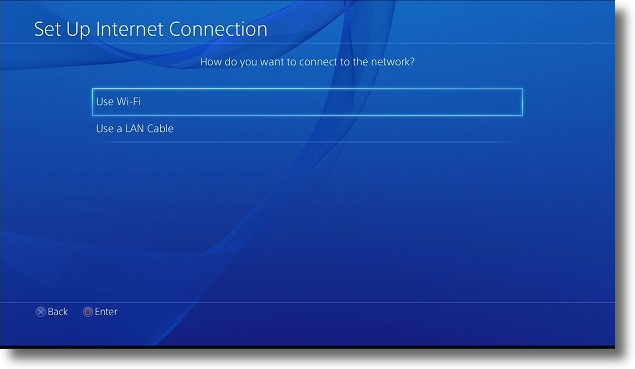
  3. Select "Use Wi-Fi".

    Select «Use Wi-Fi»

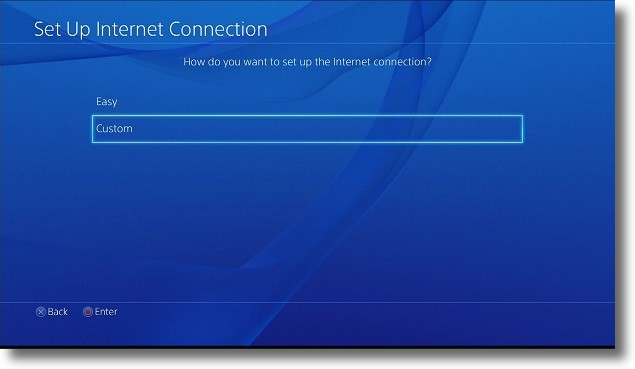
  4. Next, select the "Custom" connection method.

    Select the «Custom» connection method

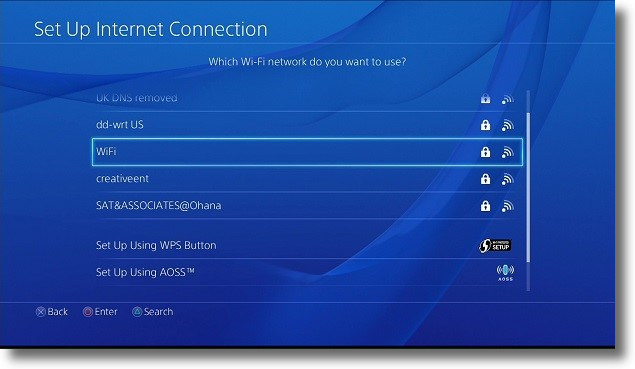
  5. Look for your Wi-Fi network.

    Look for your Wi-Fi network

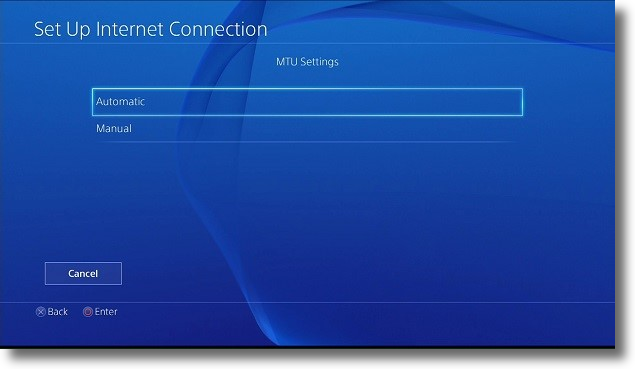
  6. In the “MTU” settings section, select “Automatic”.

    Select «Automatic»

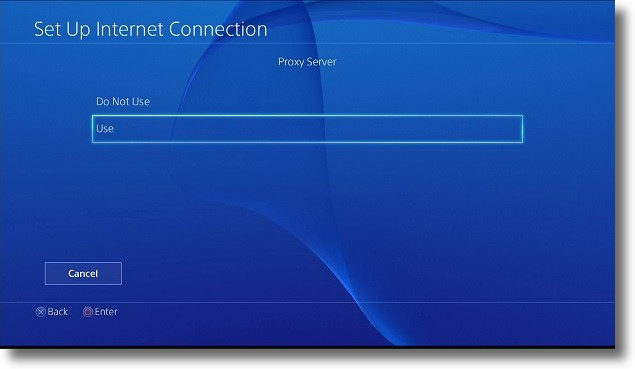
  7. Click on the item “Use” for the proxy server.

    Click on the item «Use»

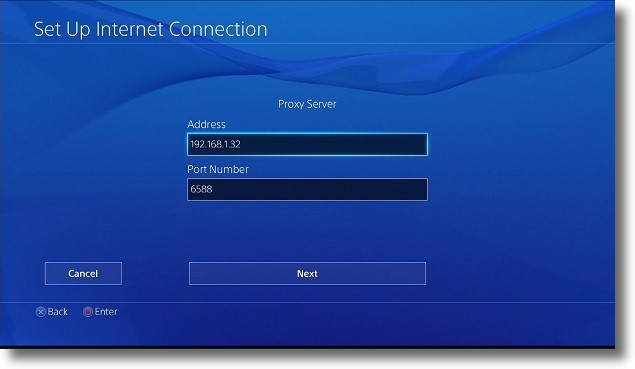
  8. Next, you need to enter the IP address of the proxy server, and in the "Port Number" field - the HTTP / HTTPS port from the proxy. Would you like to know more about proxy types? Read article about how HTTP(S) and SOCKS servers differ from each other.

    Enter the IP of the proxy server, and in the «Port Number» field - the HTTP / HTTPS port from the proxy

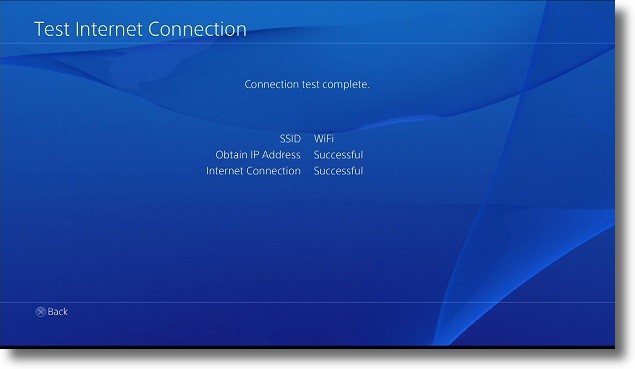
As you can see, setting up proxies for the Playstation is very simple.

So that the proxy does not turn off at the wrong time and the speed does not decrease, we advise you to buy a proxy server with 24/7 support.

Comments:

0 comments