
 en
en  Español
  中國人
中國人  Tiếng Việt
  Deutsch
  Українська
  Português
  Français
  भारतीय
  Türkçe
  한국인
한국인  Italiano
  Indonesia
  Polski
 Wade is a browser that integrates key anti-detection technologies, including digital fingerprinting, IP masking with proxy servers, and support for custom scripts through its API. This tool also enhances teamwork with its efficient system for distributing workspaces and setting specific access levels for each employee.

Designed for professionals in affiliate marketing, e-commerce, web scraping, and digital marketing, Wade simplifies the management of multiple accounts while ensuring a high level of anonymity and protection from anti-fraud systems, thereby minimizing the risk of blocking. It is particularly valuable for specialists engaged in traffic arbitrage, managing social media advertising campaigns, and operations on cryptocurrency platforms.
The Wade browser boasts several features that enhance its utility for a broad spectrum of professionals. These features include tools for teamwork, a system of presets for quickly creating profiles, and advanced settings for launch commands and browser customization. In the following sections, we will delve into the key features of the Wade browser, highlighting why it is considered an indispensable tool for specialists in various fields.
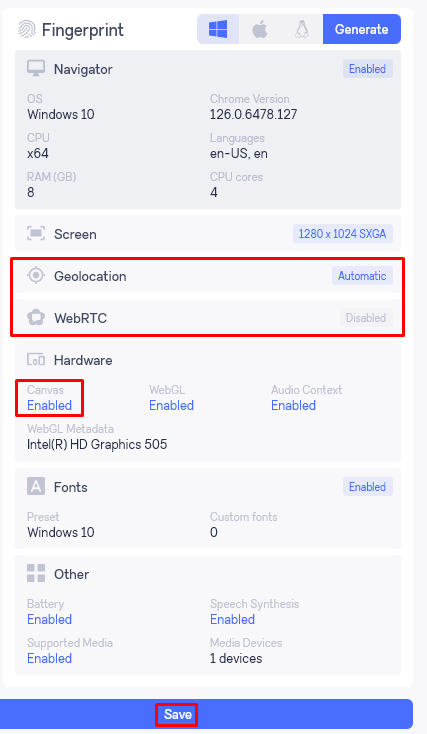
The Wade browser allows users to create highly unique profiles by offering a wide range of customizable digital fingerprint parameters. Users can edit:
Additionally, the browser enables the creation of presets for specific operating systems such as Windows, macOS, and Linux, which can save time when detailed parameter customization is unnecessary.
Further enhancing anonymity, the browser offers options to replace:
Masking these parameters is crucial for hiding unique device fingerprints, which websites might use to track and identify users. By doing so, Wade helps maintain user anonymity and protects against actions like blocking or restricting access based on the browser’s digital fingerprint.
Team management in the Wade browser is facilitated through a feature called a "Cluster," where you can add employees to your workspace. After sending an invitation, the employee needs to confirm the invitation via email. Once confirmed, you can assign various access rights to the employee, such as:
Additionally, you have the choice to specify exceptions for previously created profiles, applying separate rules for this employee.
Furthermore, you can appoint a new employee as an administrator. This role grants them the ability to manage other users' accounts, edit their rules and exceptions, and create or change presets, including bookmarks, extensions, and categories.
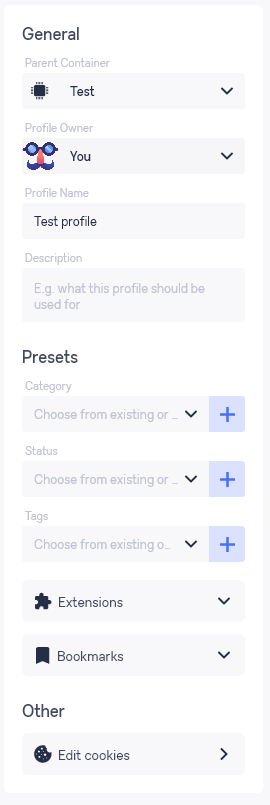
The “Presets” tab in the browser is a powerful tool for streamlining the process of profile creation. It allows you to create templates that can be applied during the creation of browser profiles. The main elements that can be included in these templates are:
For instance, if a project necessitates the use of specific extensions and interaction with particular websites, these parameters can be incorporated into a single template. Additionally, you can specify the status and tag for easy identification.
This approach saves time when creating new profiles for specific projects, as there is no need to configure each setting manually. Instead, you simply select the proper template, and the profile is instantly configured and ready for use. We will explore the process of creating a template with visual examples later in the article.
The Wade Browser Automation API offers users extensive control over browser operations through its programming interfaces. This tool streamlines routine tasks like navigating through links, inputting data, clicking buttons, and running JavaScript scripts.
With support for Selenium integration and ChromeDriver, users can import and export cookies, install browser extensions, and intercept network requests in real time. This functionality greatly enhances the ability to customize and optimize workflows, allowing for deep integration and customization of browser capabilities to meet specific user needs. For those looking to leverage this powerful functionality, detailed documentation is available on the official Wade website, providing all the necessary guidance to effectively use the browser automation API.
The browser provides three distinct paid subscription options, each with a unique set of features tailored to different user needs. Additionally, a 7-day free trial is available, allowing users to create up to a thousand profiles and add up to six team members to check the platform’s capabilities. Next, we will explore each subscription plan in detail to better understand the specific features and capabilities they offer.
This plan is ideal for freelancers who need to create unique profiles and use proxy servers. It allows for the configuration and management of up to 30 profiles. Users can also create an unlimited number of groups and tags. The price for the “Mini” plan is €29 per month.
Suitable for small teams, the “Starter” plan includes the ability to manage 120 profiles. Additional team seats can be purchased by contacting support. The cost of this plan is €89 per month, which may vary based on the number of additional users added.
Designed for automation tasks and managing medium to large teams, the “Advanced” plan offers management of 350 profiles and includes three employee seats by default, with the option to add more. The plan also provides access to API tools for enhanced functionality. Pricing for the “Advanced” plan starts at €169 per month.
It's important to note that you can contact the Wade team manager to discuss individual terms of cooperation. Discounts are also available for those who commit to long-term subscriptions, providing an incentive for extended collaboration and cost savings.

| Tariff | Mini | Starter | Advanced |
|---|---|---|---|
| Price | €29 | €89 + | €169 + |
| Number of profiles | 30 | 120 | 350 + |
| Number of users | 1 | 1 + | 3 + |
| Proxy manager | + | + | + |
| API functionality | – | + | + |
| Unlimited number of tabs/groups | + | + | + |
The browser interface is designed to be both convenient and functional, enhancing the efficiency of user tasks. For added convenience, it includes a theme change function, offering both light and dark versions to suit user preferences. Additionally, the browser supports a wide range of language versions and allows for manual change of the interface scaling level. Next, we will explore each of the main interface tabs, providing a detailed description of their functionality.
This tab is essential for initiating work with the browser, where clusters function as dedicated workspaces. Users can create multiple clusters, each tailored for specific projects. Upon creating a cluster, users gain access to the main interface of the browser, allowing them to start managing and executing their tasks effectively.

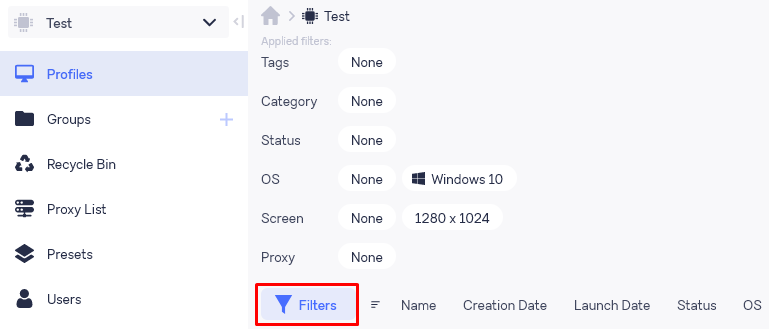
In this tab, users can view information about the profiles they have created. Additionally, this section allows for the creation, editing, sorting, and launching of profiles.

A noteworthy feature is the ability to fine-tune filters, which greatly simplifies interaction with the interface and allows users to customize it according to their individual preferences. This customization enhances the usability and efficiency of managing profiles within the browser.
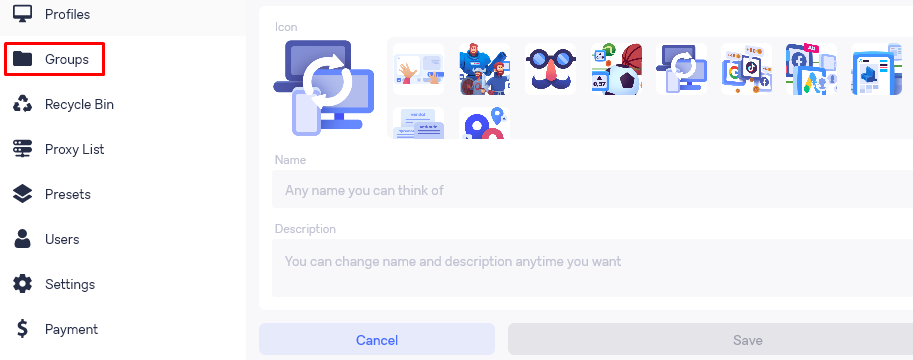
This tab enables the creation of groups for organizing and distributing profiles among them. While the cluster system allows for completely separate workspaces, this feature is particularly useful for categorizing profiles by tasks within a single project. When creating a group, users have the option to set a custom icon or choose from pre-existing options, name the group, and add a descriptive note.
This tab is dedicated solely to the functionality of restoring deleted profiles. This proves useful if a profile is deleted by mistake or if it contains important settings or data that needs to be recovered.

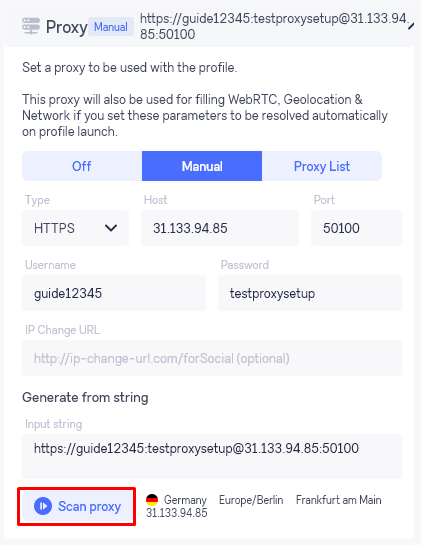
This tab is designated for adding and managing proxy servers. Users have the option to add a single IP address or upload a list of multiple proxies. The tab also includes functions for checking the functionality and geolocation of the proxies to ensure they meet specific requirements. Additionally, there is an option to export proxy server data for use in other applications or for backup purposes.

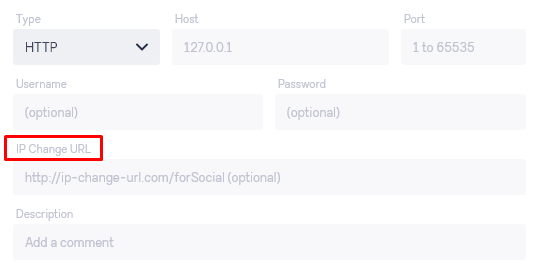
An important feature to highlight is the browser’s support for rotating proxies. When integrating a proxy server, users can specify a URL link that triggers the automatic switching of IP addresses.
In this tab, users can specify links for bookmarks and extensions, set statuses and tags, and create categories that include these parameters.
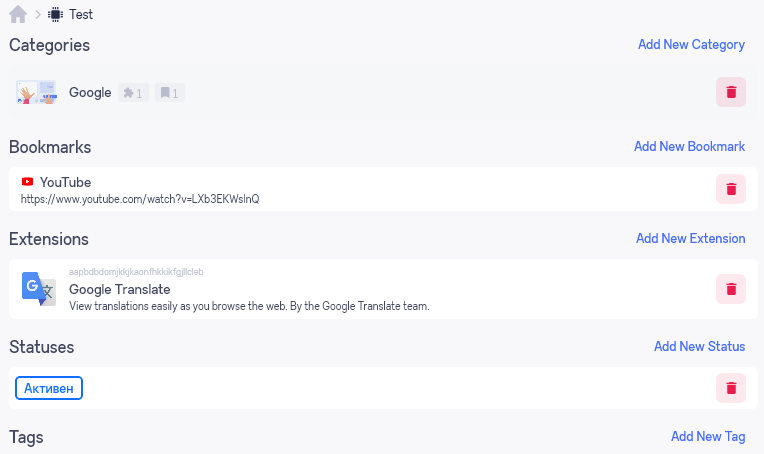
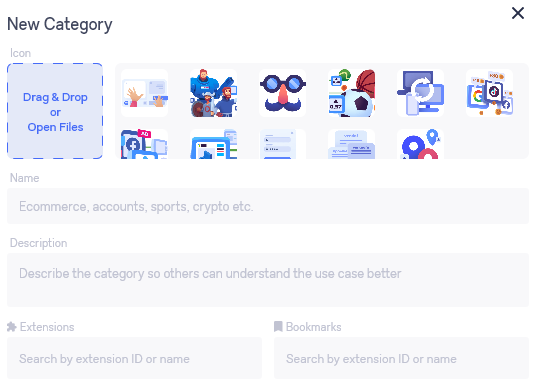
When setting up a template, users have the option to select an icon, name the template, and add a description for easier identification. There's also the functionality to include previously specified extensions and bookmarks. When creating new profiles in the future, users can choose to apply either individual parameters or entire categories to streamline the setup process.
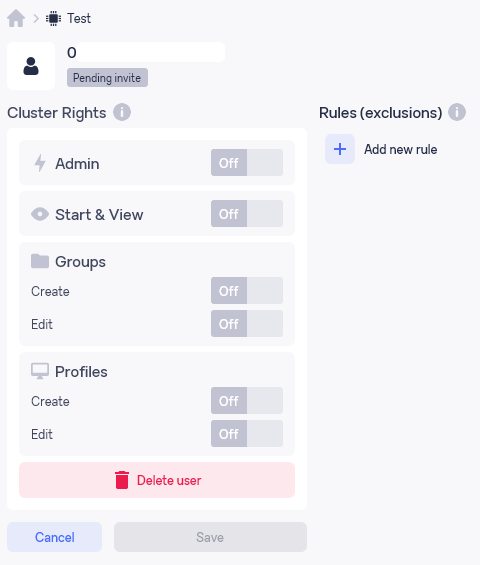
The next tab in the menu facilitates adding users for collaborative efforts within the team. By clicking on the “Invite user” button, administrators can send invitations to potential team members.

Once an invitation is accepted, the administrator can click on the new user's nickname to access the rights and permissions management menu. Here, in the “Rules (exclusions)” section, the administrator has the ability to specify which profiles the invited user will have special access to or restrictions on. Additionally, from this same menu, the administrator has the option to remove the user if needed.
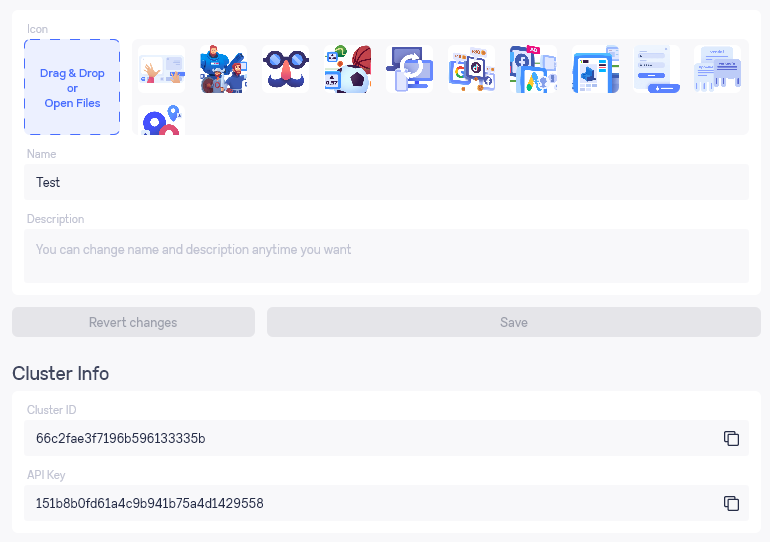
This tab allows for customization of the cluster. You can change the previously specified name, set an icon, and add a description for clarity and identification. Additionally, it displays your cluster ID and provides an option to save the API key for future use, facilitating integration and access to other applications or services.
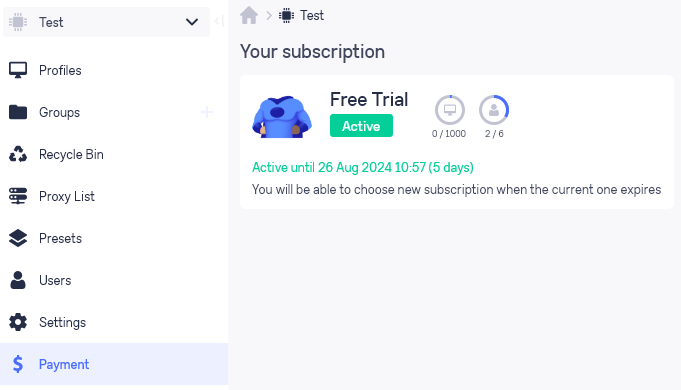
The “Payment” tab provides detailed information about your active subscription. It shows the expiration date of the subscription and means the number of profiles and users you are allowed to create or add, helping you manage your subscription and plan for future needs effectively.
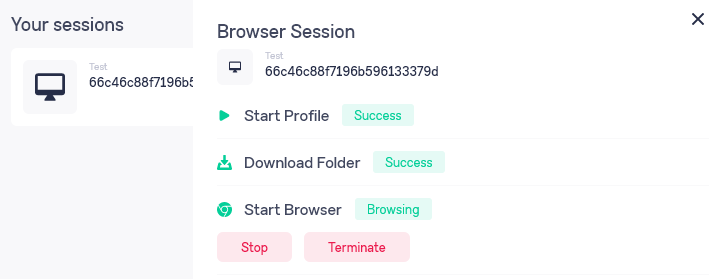
The top panel of the browser provides access to information about active sessions. Here, you can view the status of any running profile, including its current stage, which is particularly useful for diagnosing failures or monitoring ongoing activities.

For more detailed information on a specific session, simply click on it. This action will open a window displaying further details and available control options. The “Stop” button halts the browser and synchronizes the data, ensuring that all changes are saved. Conversely, the “Terminate” button closes the session without saving any changes made during that session.
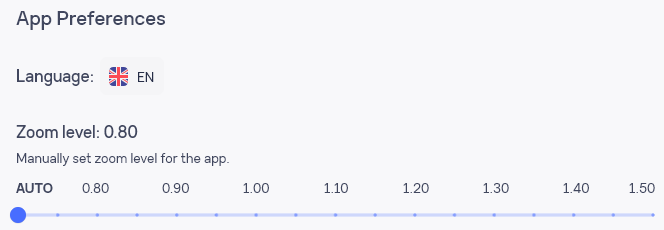
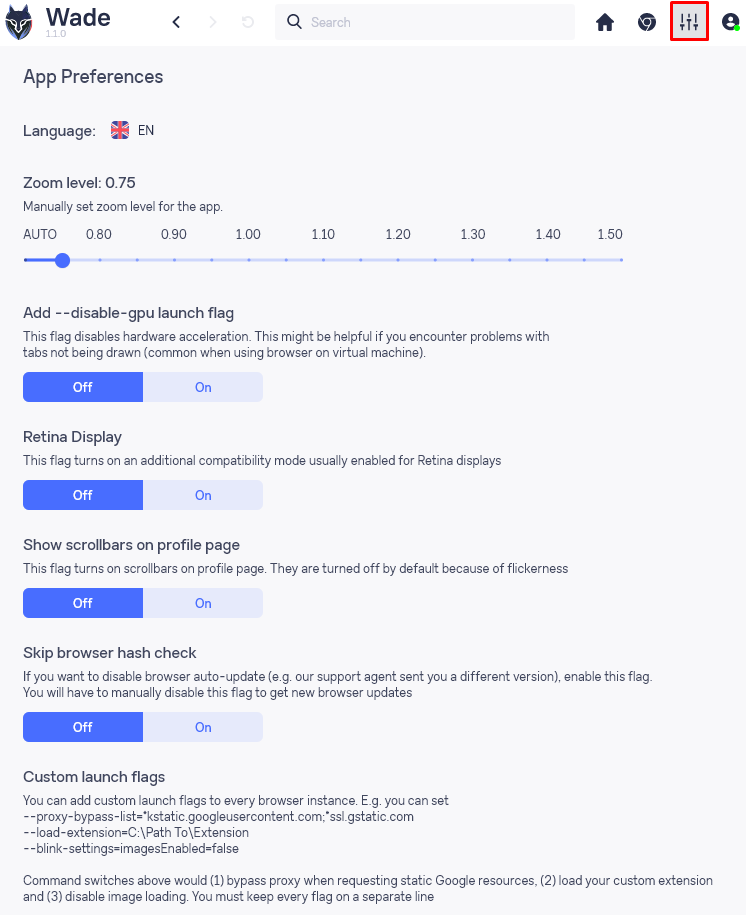
In this section of the application, users can adjust the interface language and its scaling to better suit their preferences. Additionally, settings for the application display and the activation of various additional functions are available. Each option is provided with a detailed description to help users understand and make the most of the available settings.
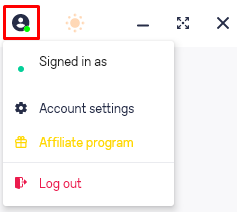
When you click on this icon, you will have access to two main options: account settings and the affiliate program. Additionally, this menu provides the option to log out of your account.
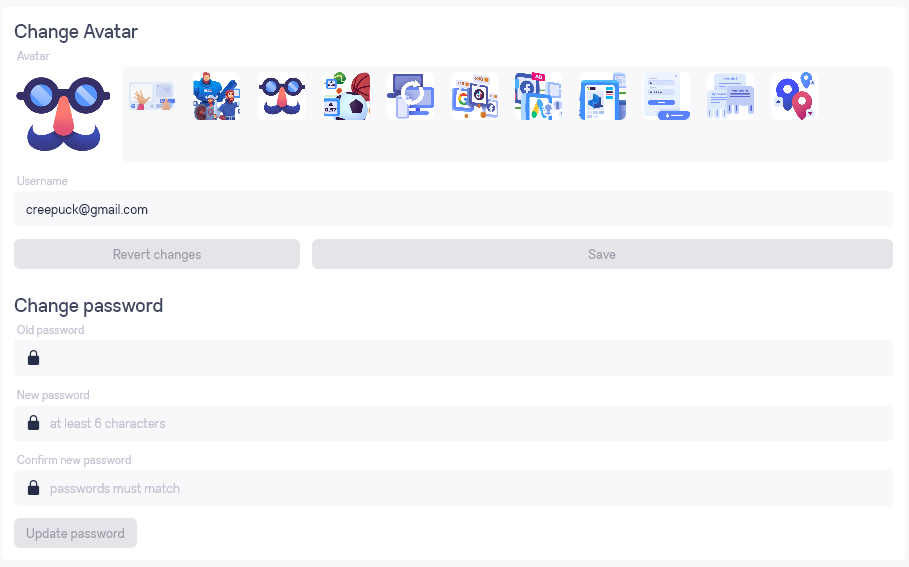
In the “Account settings” section, users can change their avatar, reset their current password, and set a new one, ensuring their account remains secure and personalized.
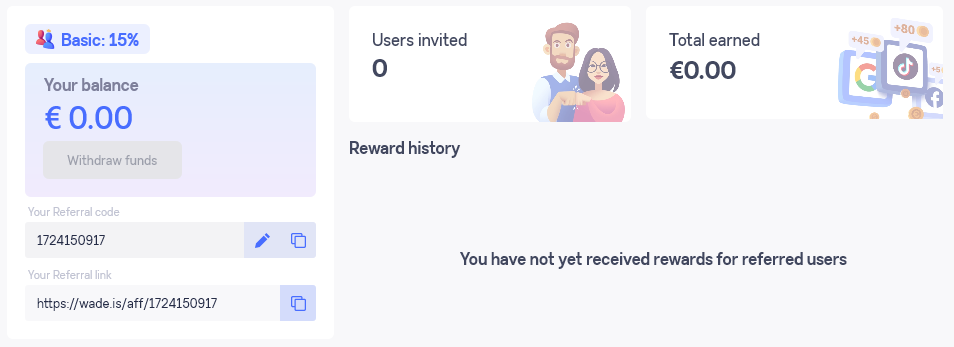
The ”Affiliate Program” section provides detailed statistics on referral links, displays the current balance of earned funds, and offers the ability to easily copy the referral code and link.


Wade browser protects your data through strong encryption. All stored profiles, fingerprint data, and proxy credentials use advanced encryption algorithms. This keeps your sensitive information safe even if your device is compromised. Wade does not collect telemetry data by default. It follows strict user privacy policies and complies with GDPR and CCPA regulations. You control any data sharing settings within the browser.
The security architecture isolates each browser profile using sandboxing. This prevents data leaks between profiles and blocks malware or malicious extensions from spreading. Each profile runs independently, minimizing risks.
To further secure your Wade browser setup, follow these recommendations:
By combining built-in Wade encryption and user security practices, you safeguard your anonymity and data integrity.
If you run dozens or hundreds of Wade browser profiles simultaneously, you need strong hardware and smart management. Here’s how to optimize performance:
First, consider your hardware. Aim for at least 16 GB of RAM, more if running more than 50 profiles. Modern CPUs with multiple cores and high multithreading capacity help distribute the load effectively. Faster SSD storage also reduces startup times.
Wade offers features to manage resource use:
For batch launching and closing profiles, follow this best practice list:
Integration with automation frameworks saves time if you perform repetitive tasks. Currently, Wade supports APIs and can work with wrappers for Selenium or Puppeteer, enabling scripted control of batches.
If you face slowdowns, high CPU, or memory leaks, try these fixes:
A fast, reliable proxy service is critical for smooth profile isolation and traffic routing. Proxy-Seller stands out here. It offers:
Using Proxy-Seller alongside the Wade browser enhances both performance and anonymity.
The legality of antidetect browsers varies by jurisdiction. Some regions regulate or restrict the use of tools designed to mask digital fingerprints, especially if used in fraud or theft. You must always research and understand your local laws before using the Wade browser for sensitive tasks.
Ethics are equally important. Antidetect browsers can be misused for fraudulent activities, unauthorized data scraping violating terms of service, or invading privacy. Avoid these by focusing on legitimate business use cases such as competitive research, ad verification, or protecting personal anonymity.
Follow these best practices to stay compliant and ethical:
Staying informed on legal and ethical boundaries lets you maximize your anonymity while minimizing risks. The Wade browser is a powerful tool when used responsibly within clear compliance frameworks.
The Wade anti-detect browser offers a comprehensive suite of tools, making it adaptable for various usage scenarios, such as managing multiple accounts and bypassing restrictions. Its high efficiency is bolstered by the ability to precisely adjust templates and operate an unlimited number of profiles concurrently.
Plus, the browser includes a free seven-day trial period, allowing users to thoroughly assess its features and performance before making a purchase. This trial period is especially beneficial for users to ensure the browser meets their specific needs before committing financially. Additionally, if you're exploring other advanced options for multi-account workflows, you might find this comparison of top anti-detect browsers helpful.
Meanwhile, a fast, reliable proxy service is needed for keeping profiles separate and routing web traffic correctly. Proxy-Seller is a great option. It has a user-friendly dashboard, supports buying proxies in bulk, and includes API integration for automation. When using it with the Wade browser, it makes performance better and helps keep the user's activity private.
Comments: 0