 en
en  Español
  中國人
中國人  Tiếng Việt
  Deutsch
  Українська
  Português
  Français
  भारतीय
  Türkçe
  한국인
한국인  Italiano
  Indonesia
  Polski
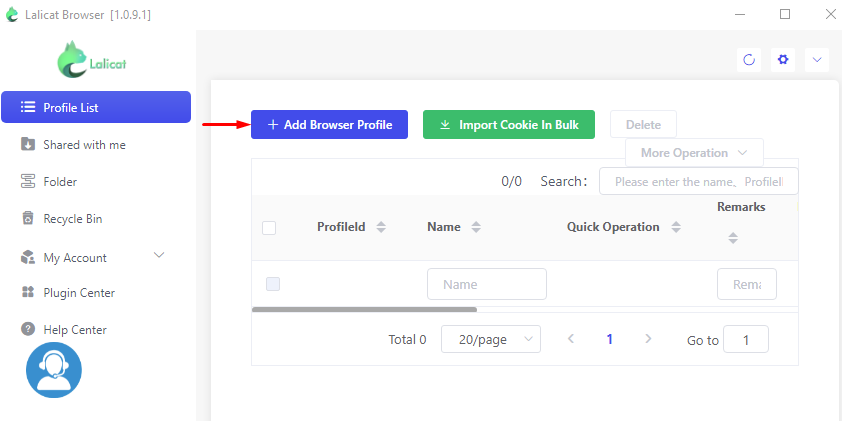
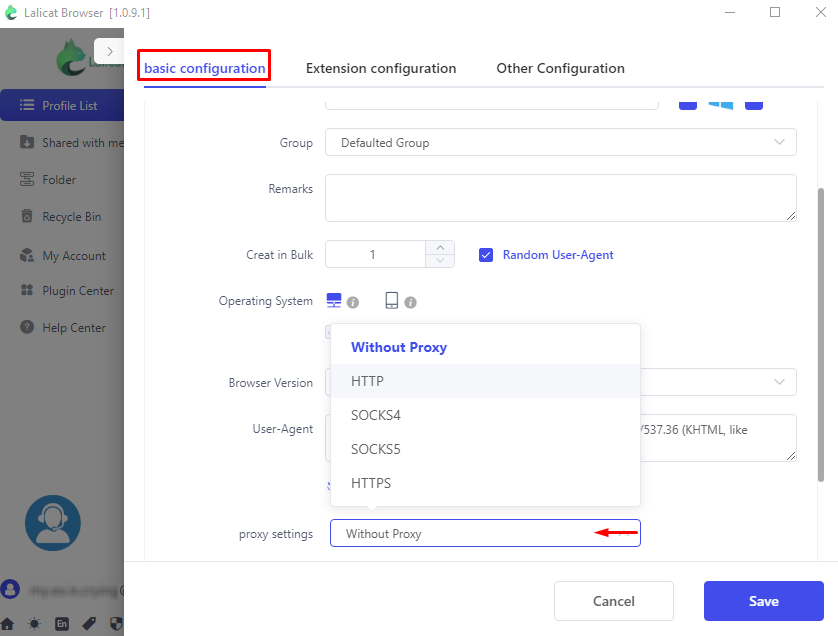
 Lalicat is a browser designed for fingerprint anti-detection, prioritizing online anonymity and safeguarding your internet activity. With the ability to route your internet traffic through proxy servers, Lalicat ensures anonymity, bypasses geo-restrictions, and mitigates IP blocking. In this article, we offer a detailed, step-by-step guide on configuring a proxy in the Lalicat browser to enhance your data security.


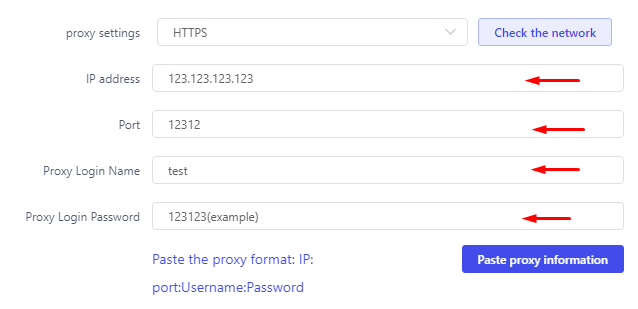
You're all set! Now, all your internet traffic will be routed through the selected proxy server, ensuring secure and anonymous web browsing with your IP address concealed. As you can see, configuring a proxy in Lalicat is a straightforward process.
Comments: 0