
 en
en  Español
  中國人
中國人  Tiếng Việt
  Deutsch
  Українська
  Português
  Français
  भारतीय
  Türkçe
  한국인
한국인  Italiano
  Indonesia
  Polski
 Memu is an Android emulator designed for Windows and MacOS, allowing you to run Android applications and games on your computer. Key features of the Memu:
Download and install Memu on your computer from the official website. Once installed, Memu will set up an Android image, essentially creating a virtual device. After this setup, you can start running APK installation files or download games directly from the Google Play Store.
When using an Android emulator, mobile proxy helps maintain a genuine mobile IP environment by routing traffic through a cellular operator’s network. This makes network-level characteristics and application behavior closer to real mobile conditions, reducing inconsistencies detected by anti-fraud systems.
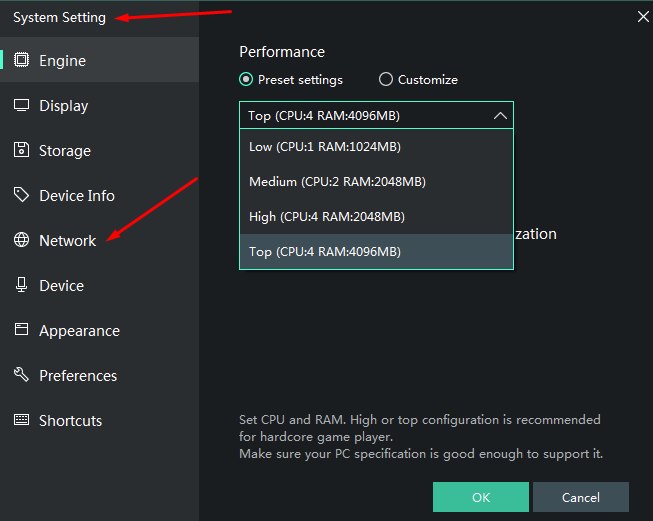
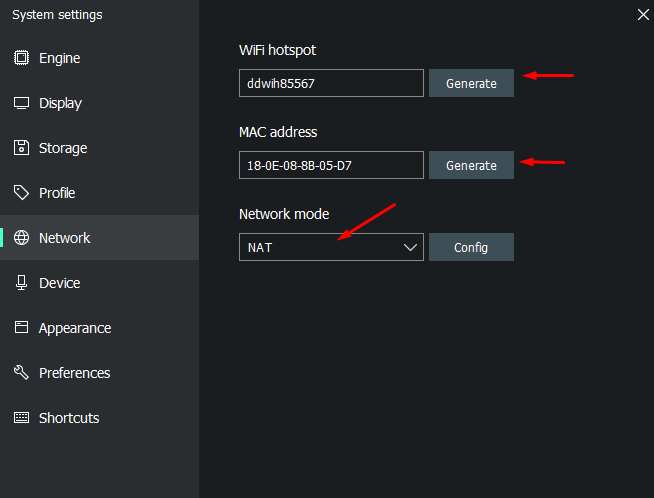
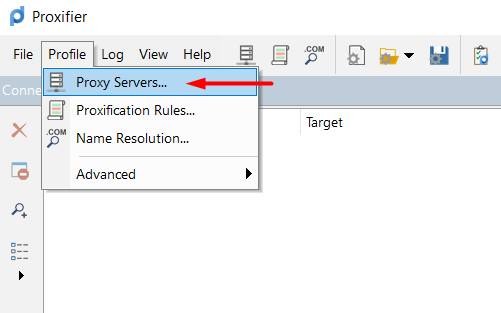
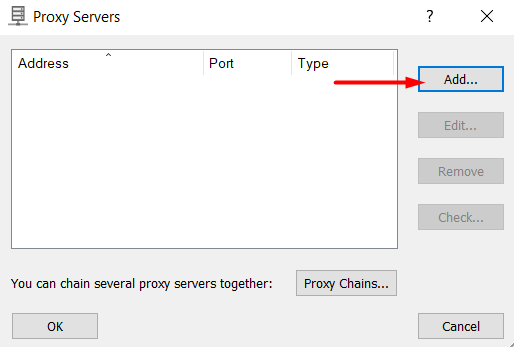
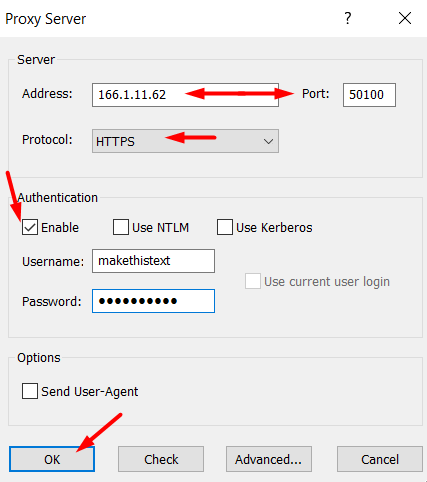
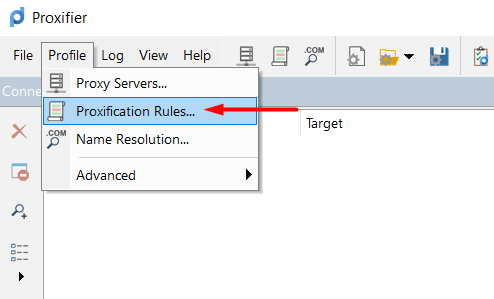
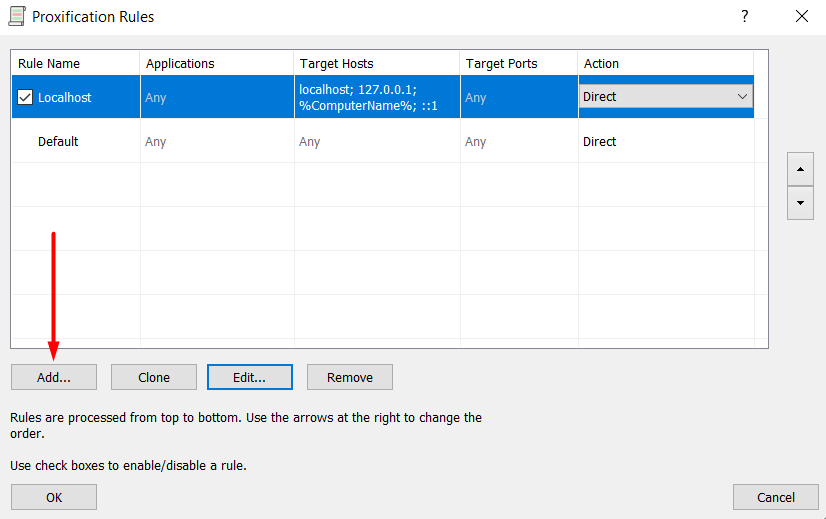
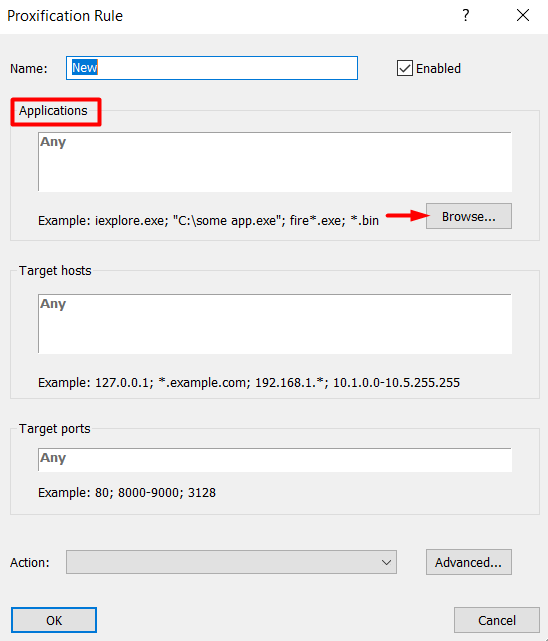
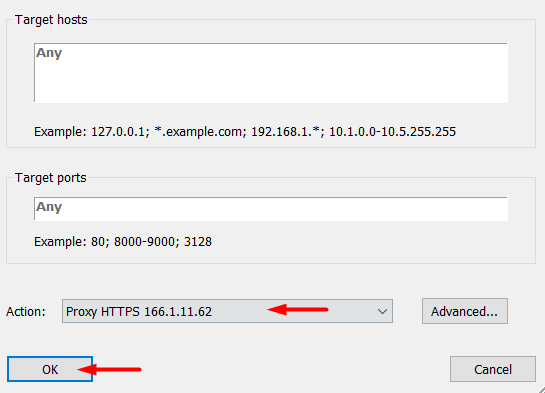
The emulator itself doesn't offer a built-in way to set up private proxies. In this example, we'll use the Proxifier program to configure a proxy for Memu.
Instead of mobile option, many users opt for ISP proxy, which provides a fixed IP address and are generally trusted more than datacenter-based solutions.
Memu is a popular Android emulator used by app and game developers to test and debug their products across various Android versions and screen resolutions. It is also favored by gamers who play games on large monitors or laptops, especially for running large-scale games with high-quality graphics on a PC.
Comments: 0