
 en
en  Español
  中國人
中國人  Tiếng Việt
  Deutsch
  Українська
  Português
  Français
  भारतीय
  Türkçe
  한국인
한국인  Italiano
  Gaeilge
  اردو
اردو  Indonesia
  Polski
 Scrapoxy is an automated proxy aggregator that helps to manage different tools and processes that make web scraping easier and safer. One important thing, Scrapoxy does not provide scraping services, nor does it provide proxy servers. Its position is in the background and the application aids in the controlling and managing of proxy servers and routing the requests through each server in order to eliminate the chances of being blocked because of overdoing the scraping activity.

The technique of gathering information with the aid of Scrapoxy is done in three stages:
Next, we will dive deeper into how Scrapoxy works and what benefits it has to offer. An overview provided with screenshots from Scrapoxy, so it will be easier to understand.
To start off, let's overview the application features closely. Scrapoxy serves as an aggregator for proxy servers and augments the capabilities of scraping tools in performing secure and efficient collection tasks, it can be thought of as a proxy server management tool with some highlights features:
Scrapoxy is a flexible tool that accepts any form of IP address, whether dynamic or static, showcasing its usefulness as a tool. It allows for the configuration of the following:
Indeed, Scrapoxy is an excellent choice for a wide range of web scraping and traffic management tasks. Also, it is compatible with and allows the use of different types of protocols, such as HTTP/HTTPS and SOCKS, making it able to be configured for the requirements of a project in question.
Scrapoxy supports automatic proxy rotation management, wherein anonymity is enhanced, allowing the user to be blocked while web scraping sites. Proxy rotation is the process of setting up the proxies to be altered at specific time intervals, and the other IPs are accordingly distributed to maintain anonymity, and the websites being targeted are less likely to implement detection and restrictions.
This single feature accomplishes the two purposes of using a proxy server, enhancing security of trace traffic and minimizing the chances of being blocked. It also balances the traffic without congesting a single proxy. Automatic proxy rotation is simple to implement while using Scrapoxy as long as there is automation in the control and management of the vast pool of IPs.
An additional feature of Scrapoxy is the detailed examination of all the traffic sent and received as a part of the web scraping process, alongside the user’s session. Such a feature is advantageous as it allows monitoring of several parameters namely:
This information is up to date while also providing a deep logical oversight benefits over the available Scrapoxy metrics section. With this type of control, users would be able to understand how effective their scraping sessions are while using unique proxy servers and also have the information in an easy format that would allow them to delve into the information with a lot more detail for the purpose of analysis.
Scrapoxy features include monitoring and automatic detection of blocked proxy servers meaning proxies that go offline or become dysfunctional are blocked by Scrapoxy. This ensures the invalid proxy is not used for scraping and guarantees that there is a smooth collection of data.
In regards to blocked proxies, there are options available for users via Scrapoxy web management, and through the provision of an API. In the web interface, it is possible to see the proxy servers alongside their statuses and manually make a proxy to be marked as blocked. This functionality is part of the broader capabilities of Scrapoxy for managing proxies effectively. Alternatively, the Scrapoxy API provides for automation of this process which enables proxy server management to be much more streamlined and effective.
So, how scrapoxy works? To access the interface, Scrapoxy has to be first installed via Docker or Nodejs. Following installation, the application offers a smooth web interface with a friendly UX where all Scrapoxy core functions can be accessed by the user.
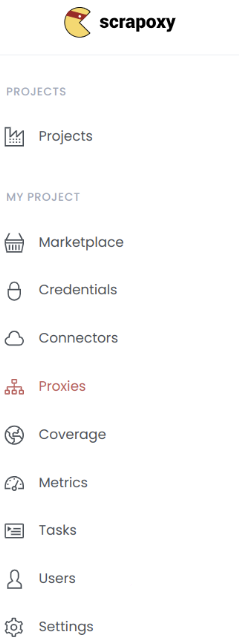
For all the projects created, this tab makes it possible to monitor them. If there are no projects at all, you may go to this part and select the “Settings” tab in order to create one. Basic data is included in each of the entries of the project alongside the possibility to delve deeper and make configuration changes.
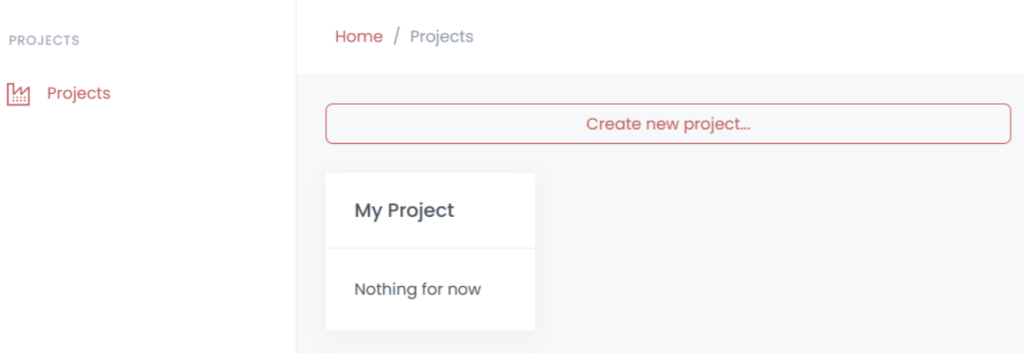
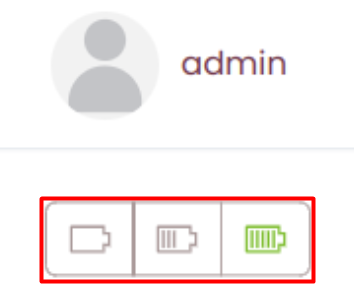
A project in this list may contain several statuses with the meaning of the operational state:
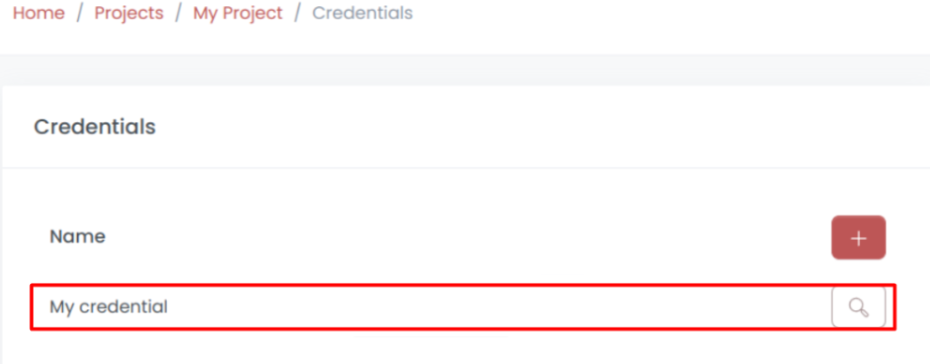
After the project has been configured, an account is being generated which has the configuration of vendor, name, and token as its parameters. Accounts have the required configuration set to connect and authorize over the cloud providers. While entering these account credentials, the software checks the provided details for correctness. As soon as the credentials are confirmed, the settings are stored and the application switches to the needed tab to provide the details. You will find the name of the project, the name of the cloud provider, and an option to change the settings of the account in detail on this page.
Connectors tab displays a list of all connectors, which are modules that enable Scrapoxy aggregator to interact with various cloud providers to create and manage proxy servers.
While configuring a connector, the following information has to be provided:
All connectors that have been added are shown in the “Connectors” section. For each of the connectors presented, the following data can be shown in the central window:

The connectors have three states: “ON”, “OFF” and ”ERROR”. Connectors can be edited as needed to update the data and verify its validity.
This tab is quite versatile allowing to view a list of proxy servers, specifying their names, IP addresses, and statuses. This page also allows proxy management in which case, you have the option to delete or disable proxy servers when need be.
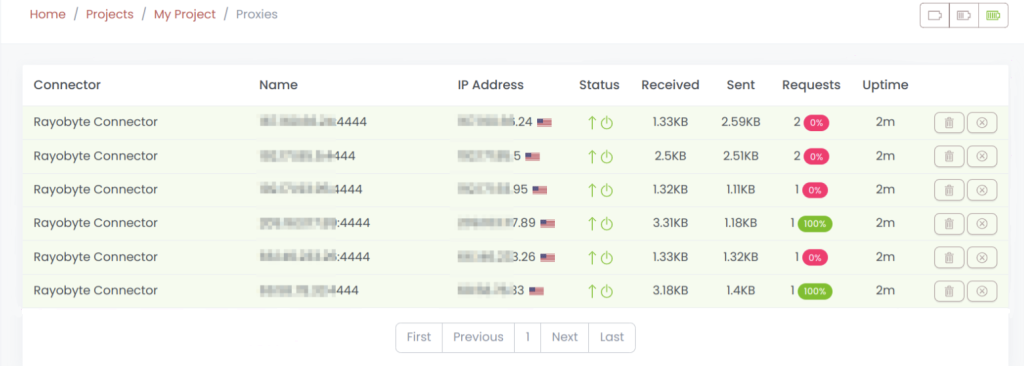
In the status column, symbols represent a particular state of each individual proxy server:
Next to this, there is also an icon that shows connection status for each proxy which rather briefly indicates if it is online, offline, or whether there is a connection problem.
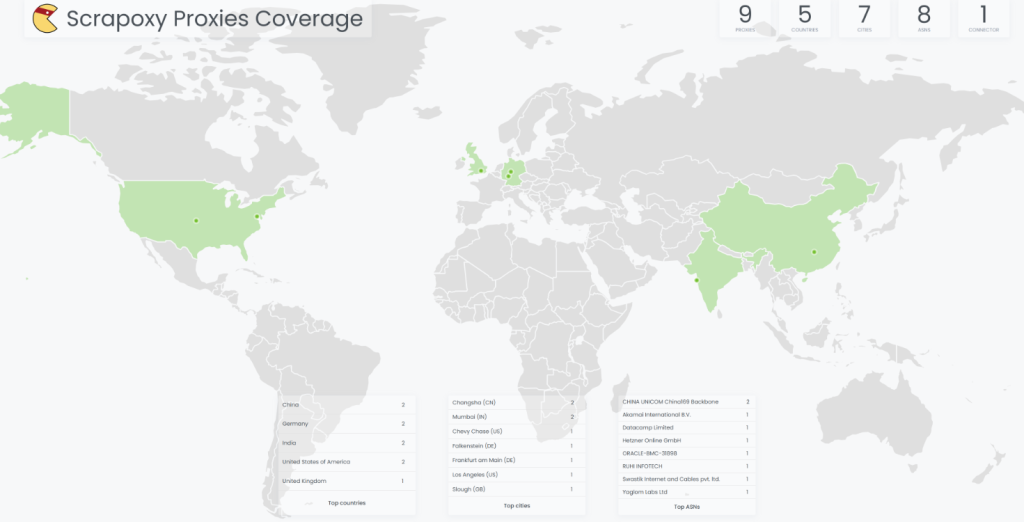
When you import a range of proxy servers into Scrapoxy the program automatically analyzes their geolocations and generates a coverage map, accessible in this section. This function complements the statistics by a map, which includes:
Indeed, assessing the source and guaranteeing all coverage of the world map helps to improve the efficiency of web scraping.
This section provides a holistic view of the project and includes a variety of indicators. From here, it is possible to further divide the main panel into several sections that represent the crucial data of the undertakings concerned. On the upper panel, the users have the option to select a certain time frame that Scrapoxy will then use to show analytical data. The details of the proxy servers that were executed in the specified projects are given below:
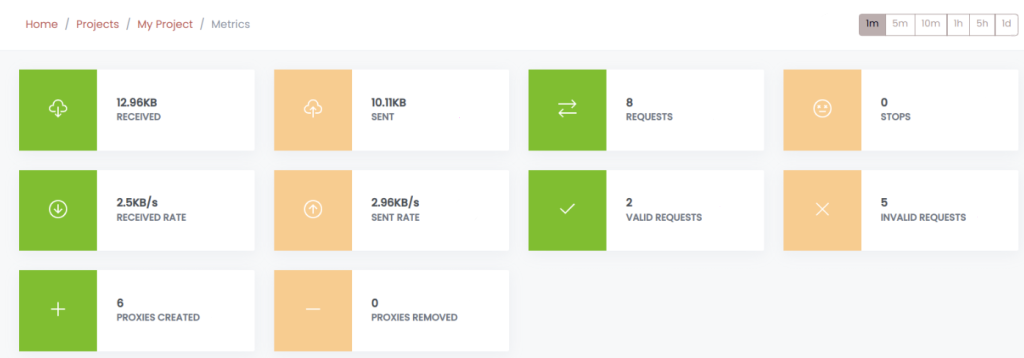
Additional information is provided for analyzing proxy servers that have been removed from the pool:

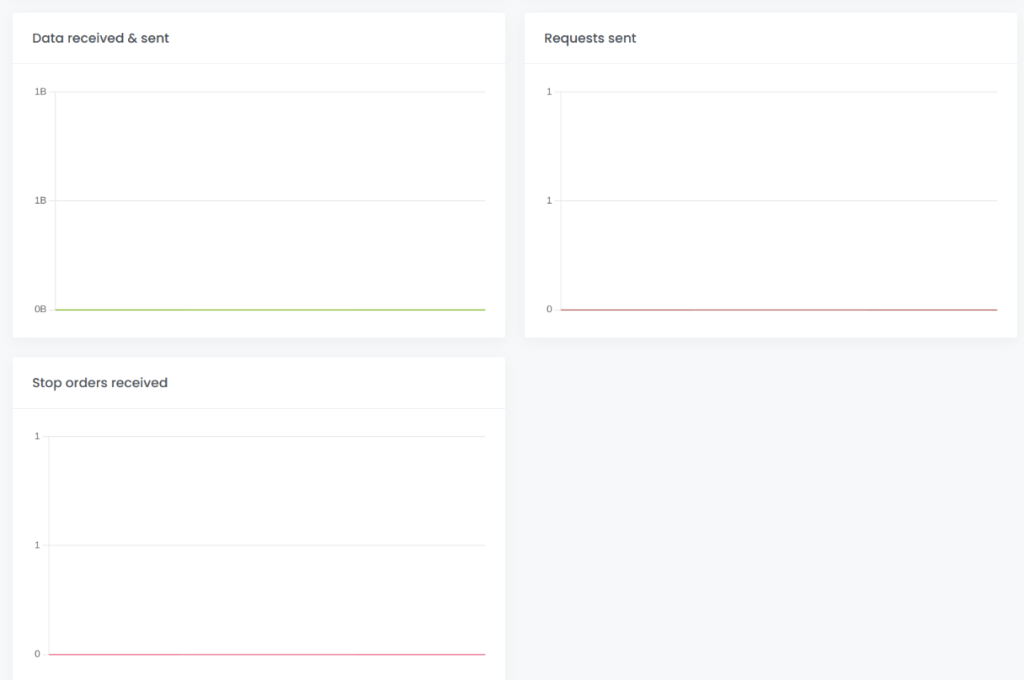
Along that, the tab contains graphs with information regarding the data sent and received, the amount of requests made, the number of stop orders received within the upper time limit and lower time limit set.
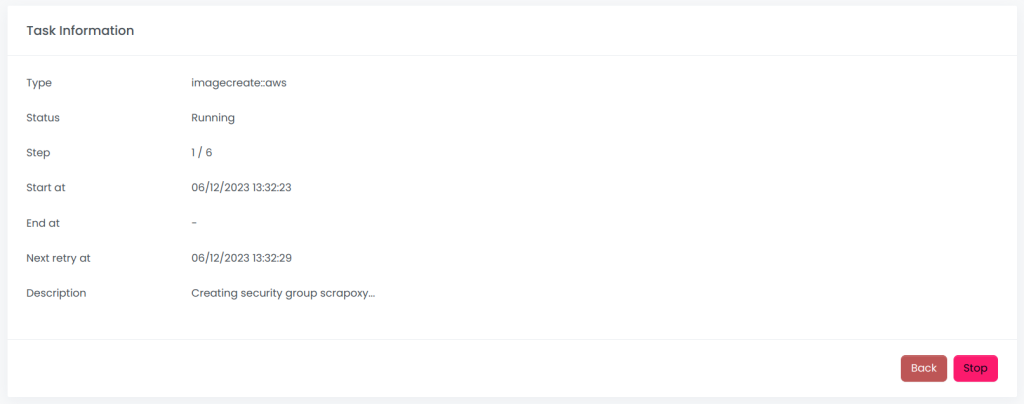
Here is where all the tasks that used Scrapoxy’s services are displayed. Thus, the following information is presented for each task:

When a task is selected, you are able to see more extensive information about a particular task and its composition as well as to schedule reruns. A stop task feature is just as well provided for.
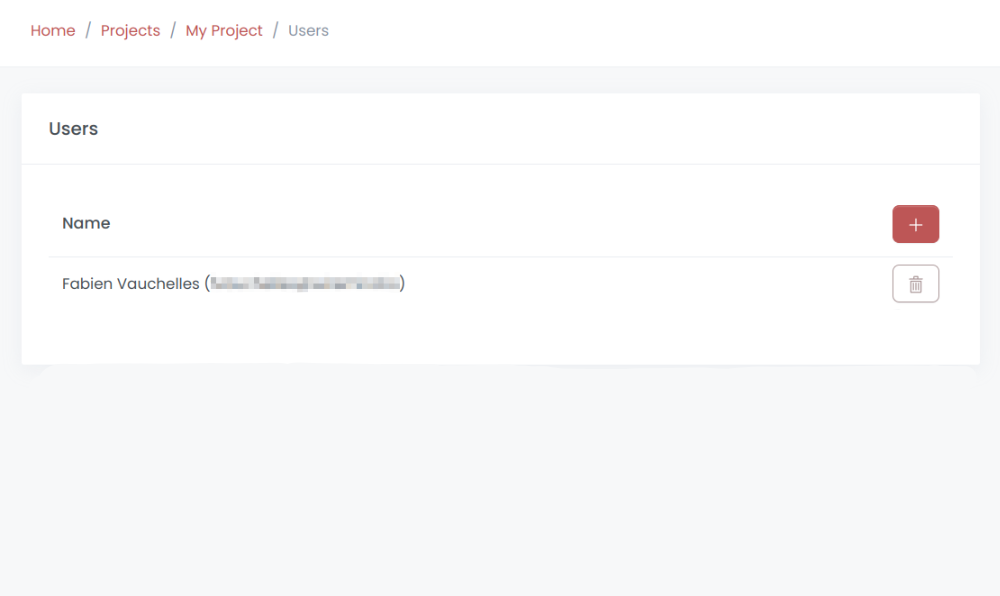
On opening this tab, users can view all the users who are assigned or have access to the projects including their names and email addresses. Furthermore, from this location, users can remove or add users on a list. However, it is important to caution that a user cannot delete themselves from a project as this is done by another user with the permission to do so.
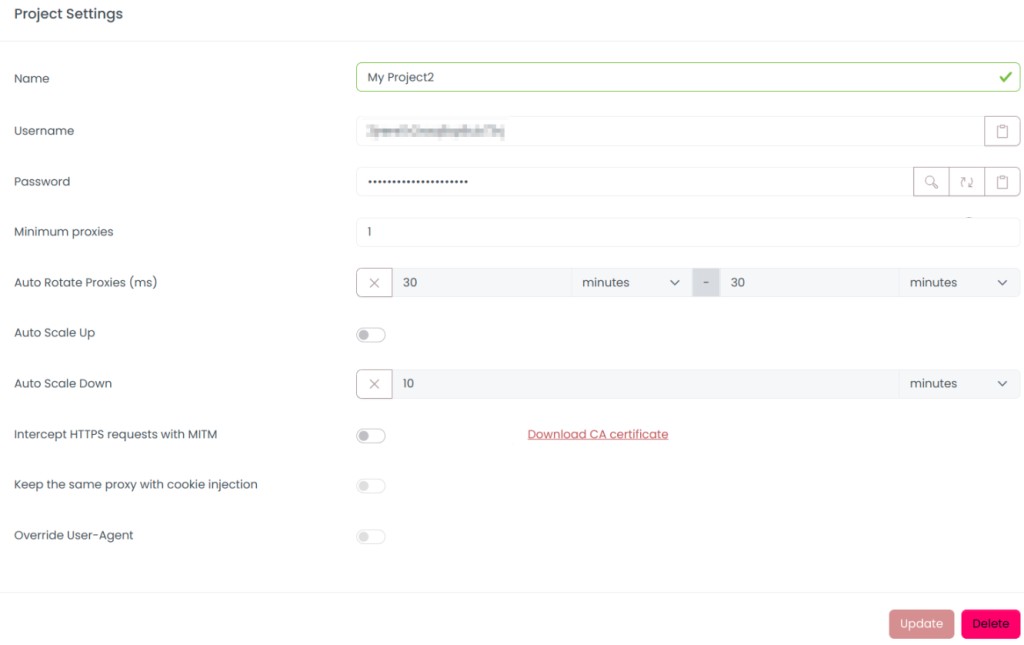
When you first connect to Scrapoxy, this tab opens, allowing you to configure the project settings. This window contains information such as:
Once everything has been changed and reconfigured, you can now make a new account for the project.
To integrate Proxy-Seller with Scrapoxy and set up the proxy follow these useful steps provided below:
Log into your account on the Proxy-Seller site and proceed to the API section.
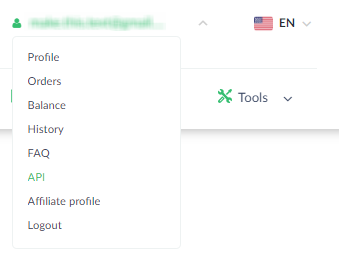
Save the Proxy-Seller’s API tokens for later use as they are needed to link the proxy with Scrapoxy.

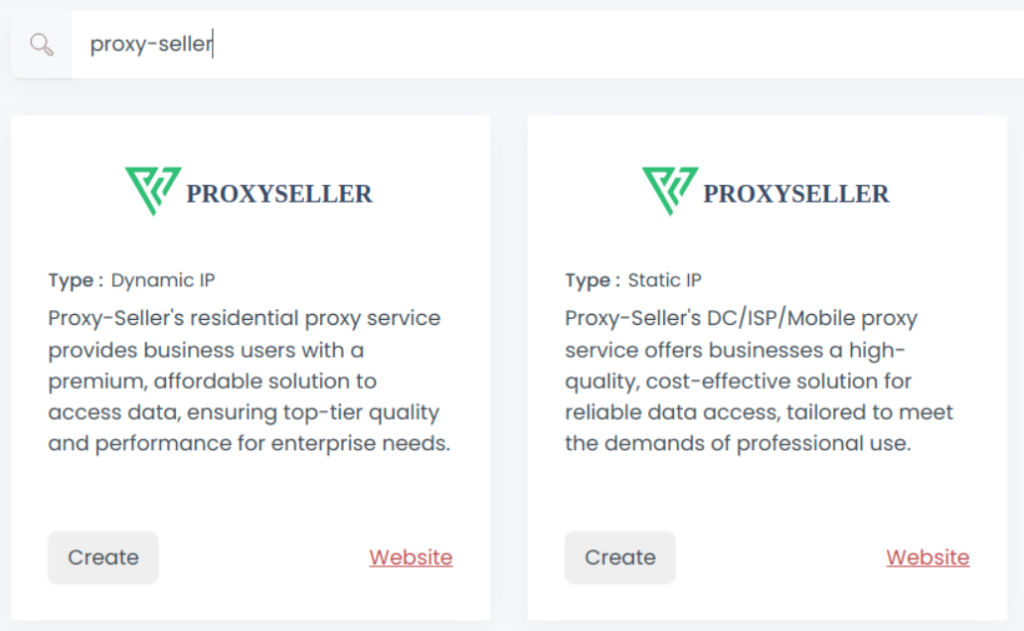
Launch the Scrapoxy web interface and proceed to the “Marketplace”. Use the search bar to locate the Proxy-Seller by filtering with Name or Type.
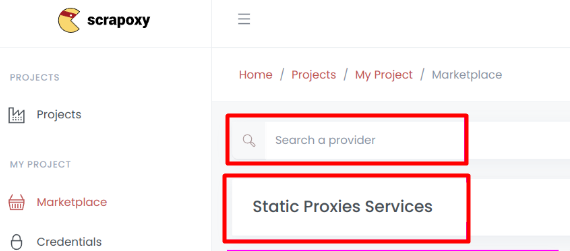
Choose the proxy type you would like to create. Once done, click “Create” in an attempt to establish a new account.
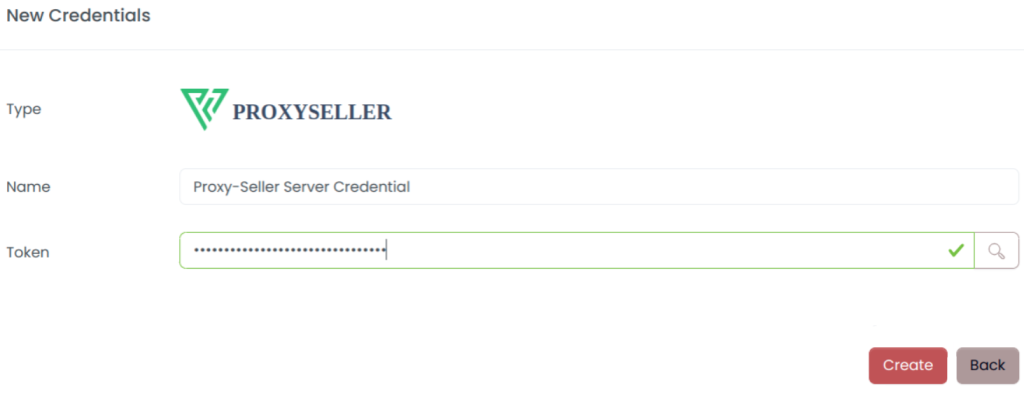
Just how you have saved the token from your account, you now have to provide the name and the token. Once confirmed, hit on the “Create” button.
Select Proxy-Seller as the provider. Poceed to create a new connector. Once created, the new connector will be shown under the main list where you’d be able to turn it on or off.
![]()
The proxy setup for Scrapoxy is now complete, and data parsing tasks in the application proxy rotator will be performed using the connected proxies.
To summarize, Scrapoxy is maybe the best proxy aggregator as it allows you to efficiently handle and distribute multiple proxy servers for web scraping requirements. Also, the proxy manager helps disguise who is making the requests and greatly simplifies data extraction processes. Scrapoxy is a straightforward application that can be used separately or as a team collaborating with almost any proxy provider and is free of charge.
Comments: 0