
 en
en  Español
  中國人
中國人  Tiếng Việt
  Deutsch
  Українська
  Português
  Français
  भारतीय
  Türkçe
  한국인
한국인  Italiano
  Gaeilge
  اردو
اردو  Indonesia
  Polski
 Shadowrocket is a versatile app available for iOS and Android devices, designed to manage proxy servers effectively. It allows users to route their internet traffic through proxy servers, enabling them to bypass geographical restrictions and enhance their online privacy. Shadowrocket can be downloaded directly from the Google Play Store.
Key features of Shadowrocket:
It’s important to note that free proxies may often be non-functional. For reliable service, it's advisable to opt for private proxy servers from reputable providers.
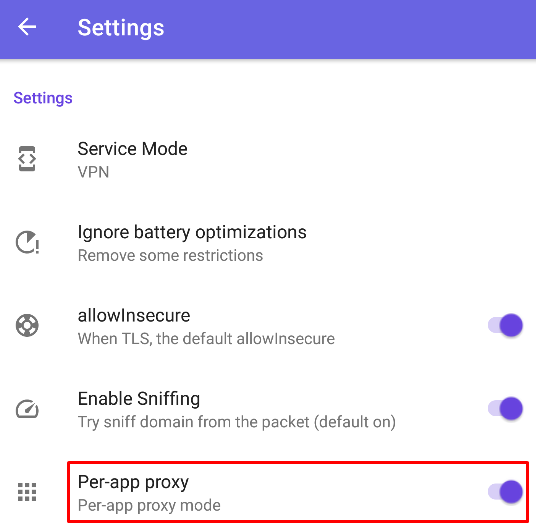
A distinctive feature of Shadowrocket is its ability to selectively apply proxy settings to specific apps on the device. This can be configured in the settings menu, where users can choose to enable proxy services for all applications or select them individually, tailoring the proxy usage to their specific needs and preferences.
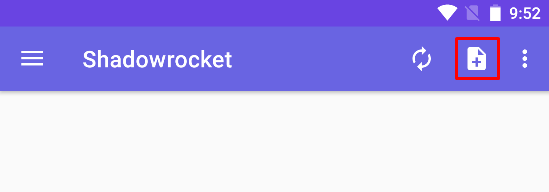
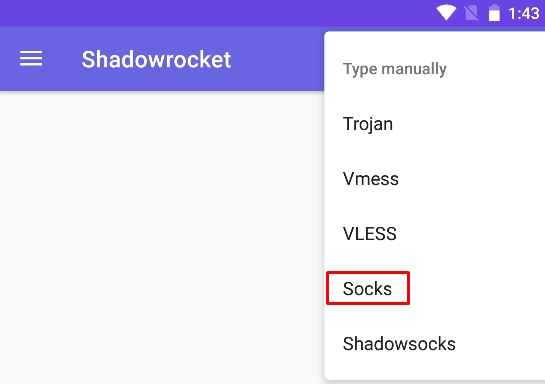
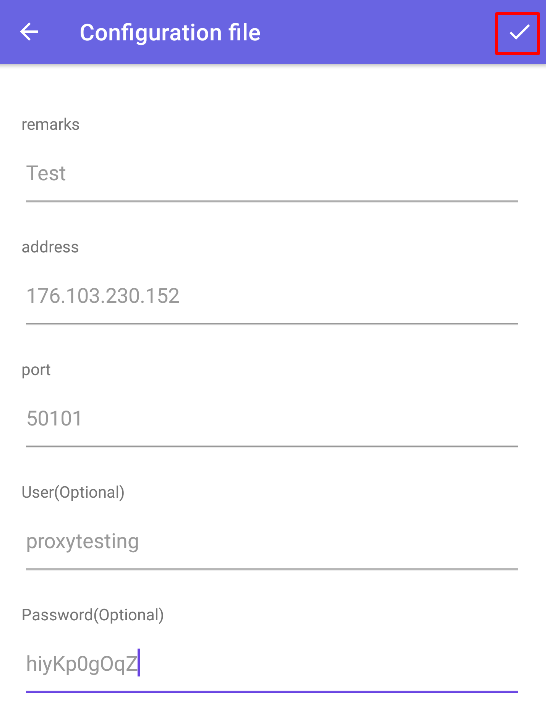
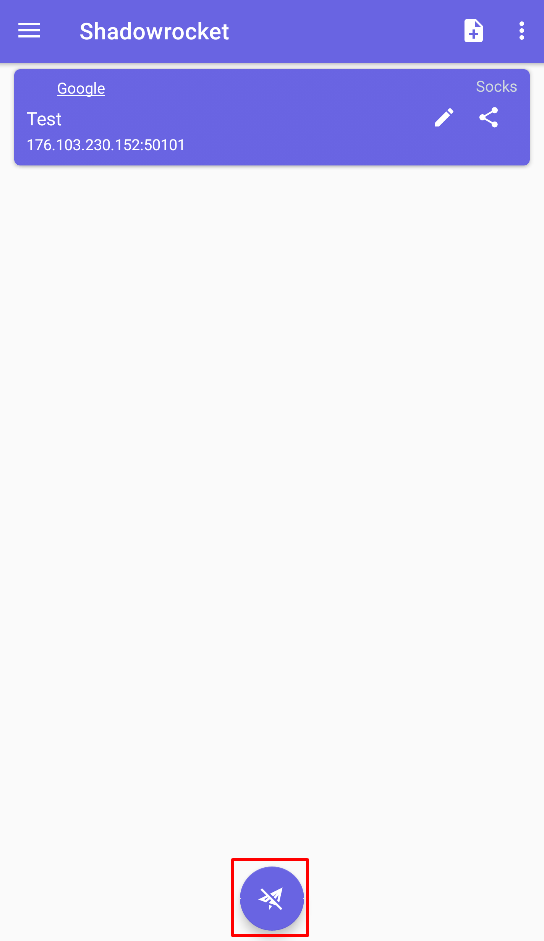
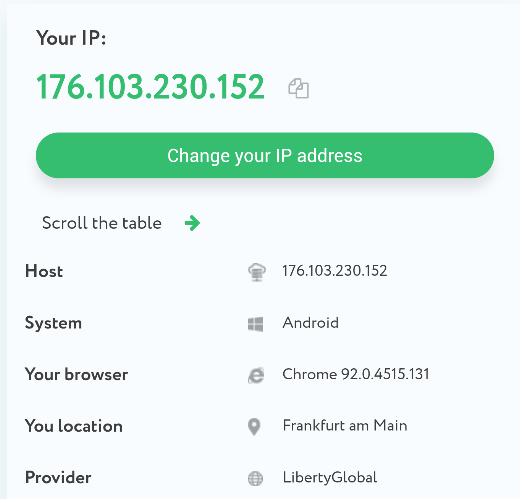
Additionally, the application allows for the organization of proxy servers into groups, which simplifies their identification and switching:
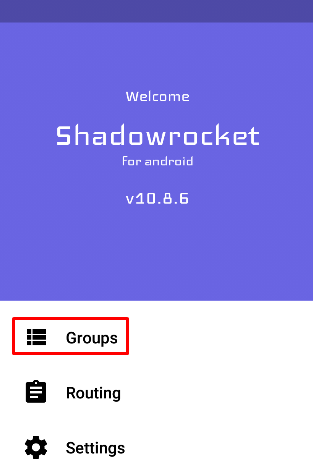

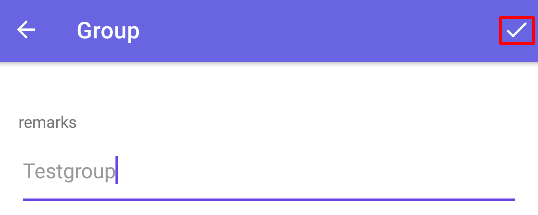
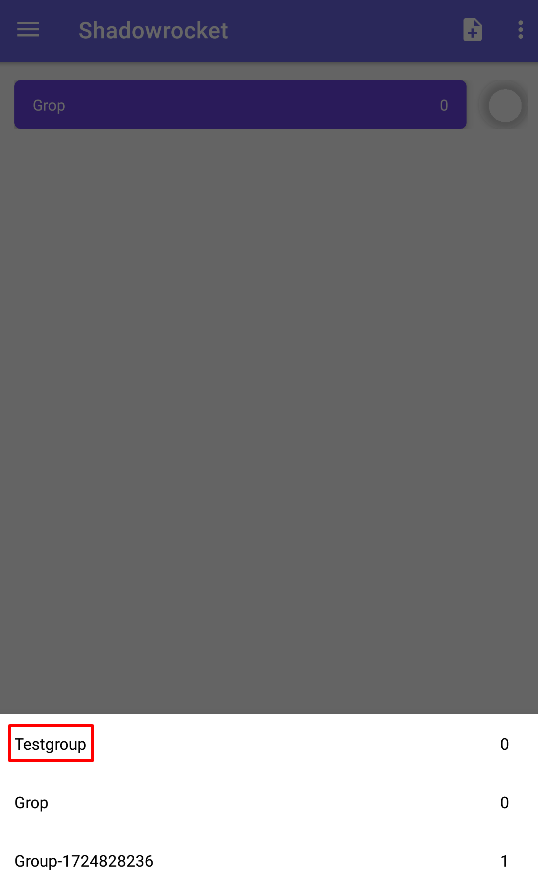
This feature is particularly beneficial when managing multiple accounts on gaming platforms, social networks, and other online resources. For this application, it’s convenient to use dynamic IPs, such as rotating mobile proxy. Additionally, the use of private proxy servers enhances this setup by offering users a completely anonymous and private internet connection, ensuring security and confidentiality in their online activities. For such simple tasks, a stable ISP proxy can be recommended.
Comments: 0