
 en
en  Español
  中國人
中國人  Tiếng Việt
  Deutsch
  Українська
  Português
  Français
  भारतीय
  Türkçe
  한국인
한국인  Italiano
  Indonesia
  Polski
 Somiibo is an adaptable platform for automating social media tasks on platforms like Instagram, TikTok, Twitter, YouTube, and SoundCloud. Its key feature is sessions, enabling you to manage multiple accounts on one platform, each with its own proxy and user agent. To make the most of Somiibo, you'll need to know how to set up a proxy, which we'll explore in detail in the following instructions.
The platform is compatible with Windows, Linux, and Mac operating systems. Here's how to set up a proxy in Somiibo:
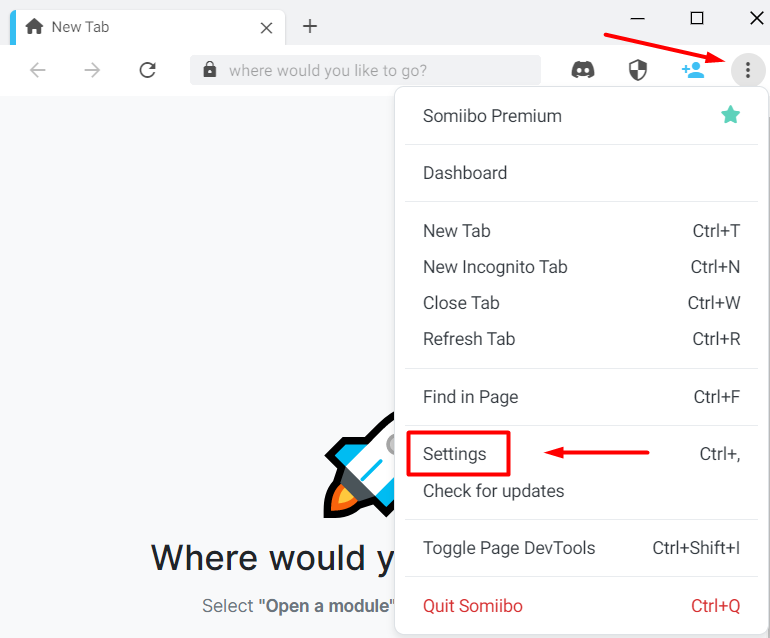
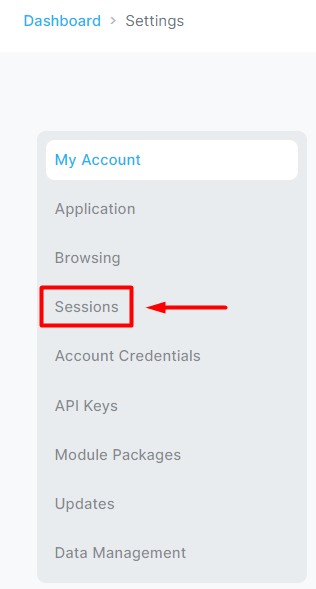
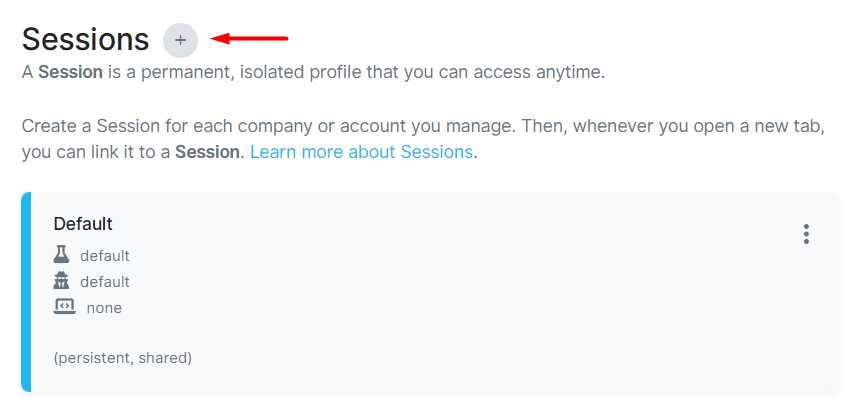
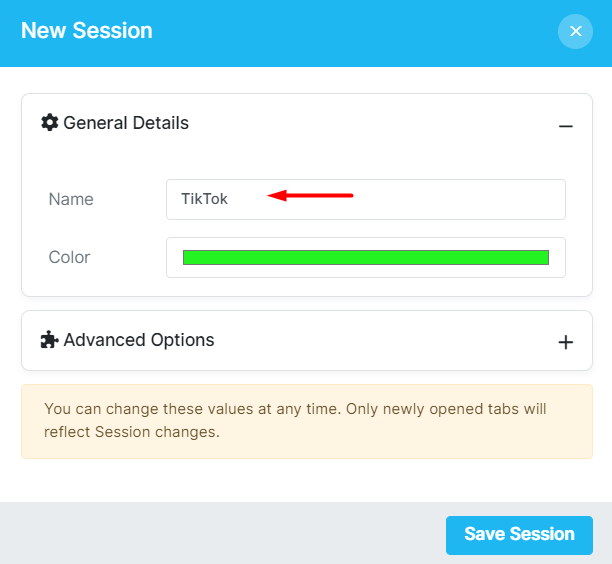
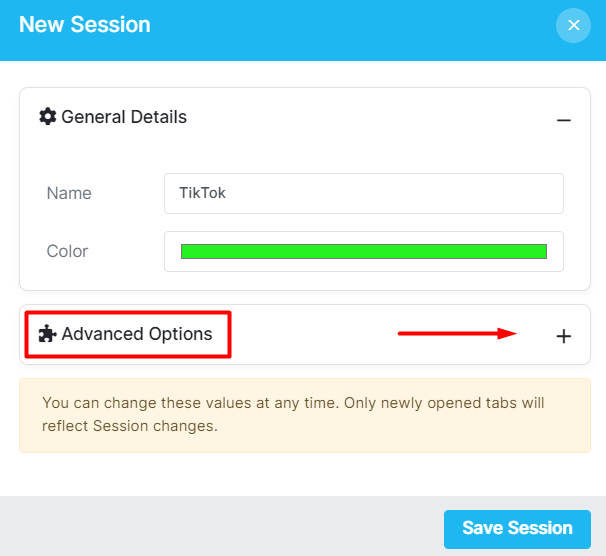
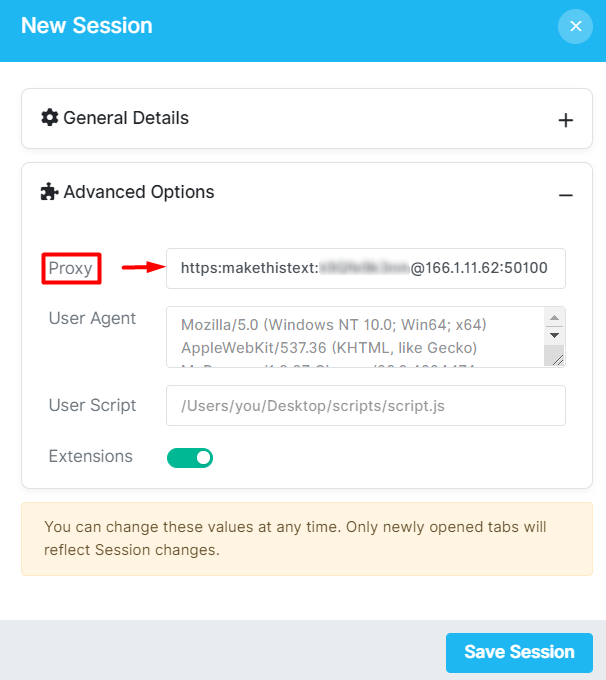

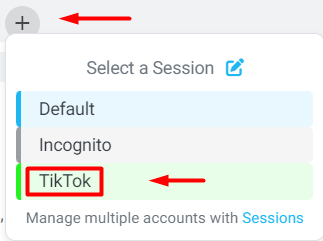
This program allows you to configure multiple proxies for a single platform, enabling multi-account management, or operating with multiple social networks in a single window. Using a proxy with Somiibo's automation modules helps you avoid blocks and bypass geo-restrictions.
Comments: 0