 en
en  Español
  中國人
中國人  Tiếng Việt
  Deutsch
  Українська
  Português
  Français
  भारतीय
  Türkçe
  한국인
한국인  Italiano
  Gaeilge
  اردو
اردو  Indonesia
  Polski
 WinSCP is a specialized tool for managing file resources on servers, ensuring secure interactions between the local machine and the server via FTP, FTPS, SCP, and SFTP protocols. Originally developed for Windows, WinSCP can be adapted for use on Mac and Linux operating systems through various emulation solutions or subsystems.

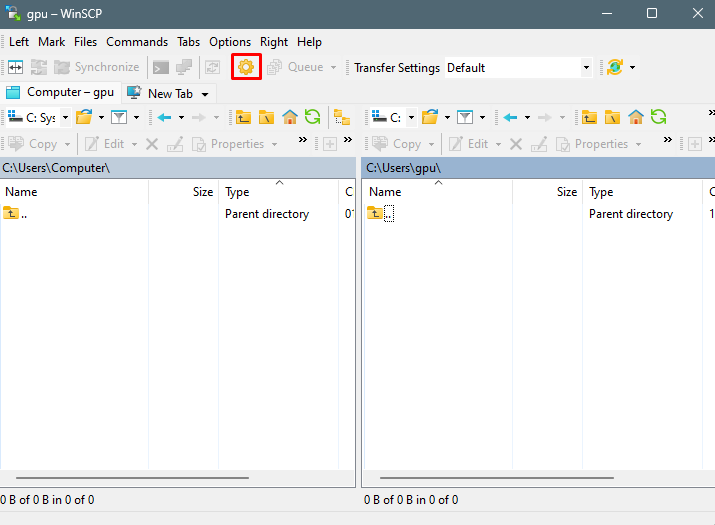
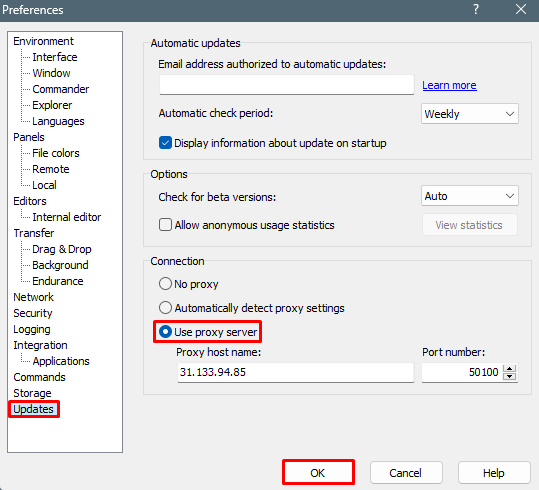
The setup of a proxy in WinSCP is crucial for enhancing the security and privacy of connections to servers. As an FTP client, WinSCP provides a user-friendly graphical interface with extensive integration features for file management, making it an essential tool for users who require a reliable and multifunctional solution for efficient file operations on remote servers.


In conclusion, configuring proxy settings in WinSCP offers an additional layer of security by concealing the user’s real IP address and reducing the risks associated with network attacks or unauthorized access. This enhanced security is crucial for both organizations and individual users who handle confidential information and require robust protection while connecting to remote servers. Furthermore, using a proxy with WinSCP enables the bypassing of geographic restrictions and blockages, thereby broadening access to resources.
Comments: 0