 Proxy for Telegram
 Proxy for LinkedIn
 Proxy for Google
 Proxy for Ebay
 Proxy for Twitter
 Proxy for TikTok
How to set up a proxy in Aezakmi

Aezakmi Browser is a modern browser fingerprint creator for registering more than one account on the sites of bookmakers (multi-accounting), which often happens after a “freeze” of a maximum rate or block.
Advantages of this application:
- one profile - is absolutely another device;
- optimization of processes in the network associated with profit;
- automation of work with proxy servers.
Proxy for Aezakmi Browser
Proxy configuration is required to create or edit a profile. After that, all processes with the profile will be loaded automatically at the moment of work. And this increases the level of safety and efficiency on the Internet.
Video guide for setting up a proxy in Aezakmi Browser
Step-by-step proxy configuration for Aezakmi Browser
Aezakmi - is an anti-detect browser that allows you to replace browser fingerprints of your PC when you work on the Internet. This application is paid, but worthy. Let’s take a look at how to configure the proxy server in the Aezakmi browser.
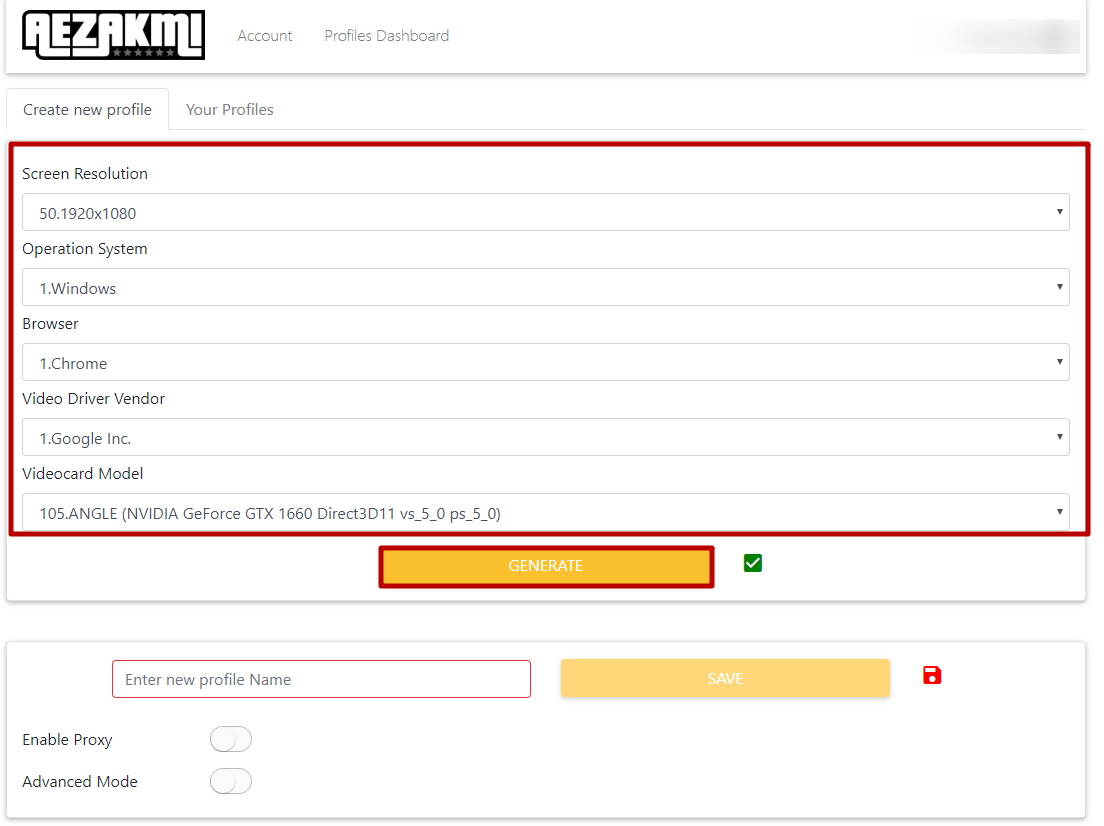
- Open your application. In the dashboard, you will be able to see the “Create new profile” section. Let’s configure it by your wish. Then, press the “GENERATE” button.
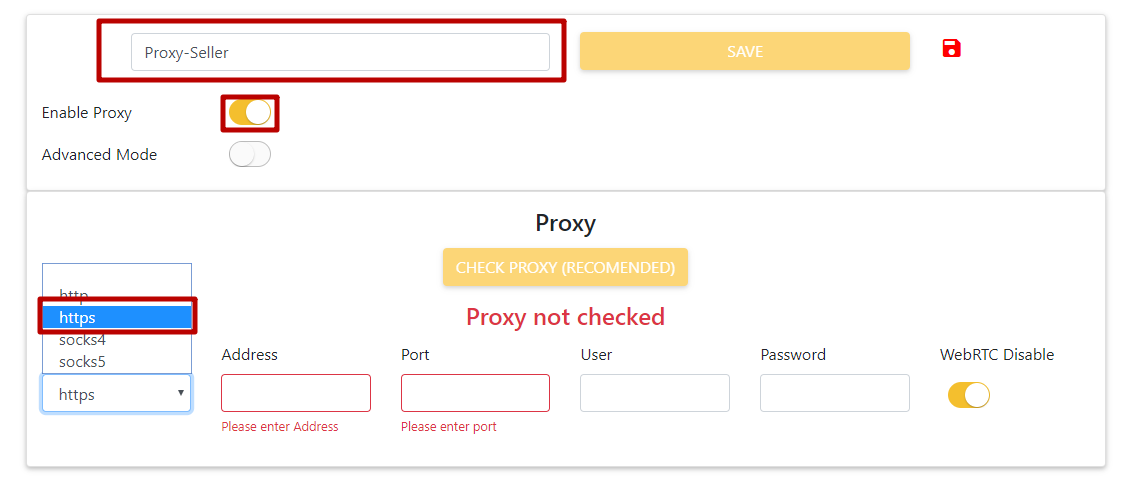
- After this, enter any name of the profile. Put a tick for “Enable Proxy” and choose the required protocol from the drop-down box. We recommend using the “HTTPS” protocol
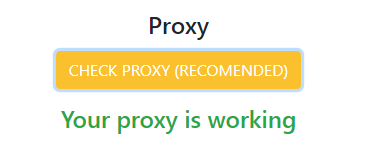
- Enter the required data into the “Address”, “Port”, “User” and “Password” fields. Such data can be easily found in the order submission mail or in the personal control panel if you have purchased private proxies from the Proxy-Seller. After this, press the “CHECK PROXY (RECOMENDED)” button.
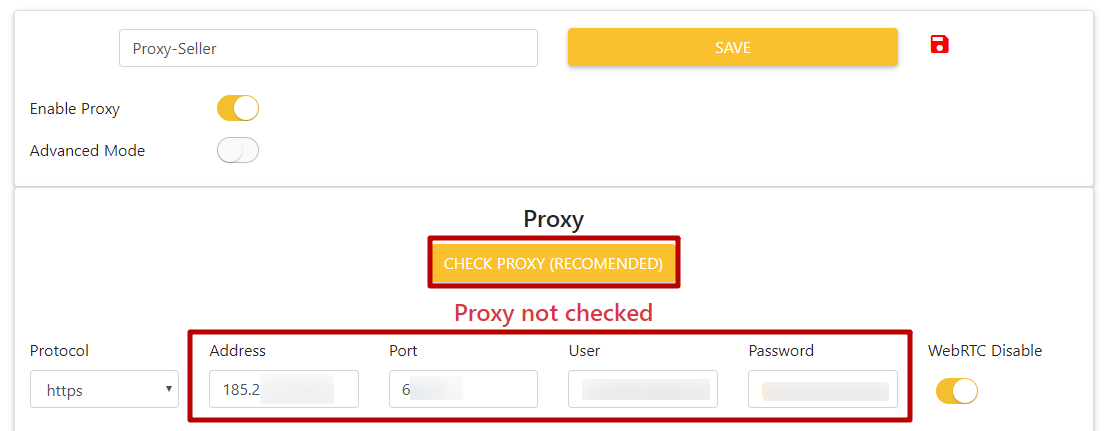
- You should be able to see such a result.
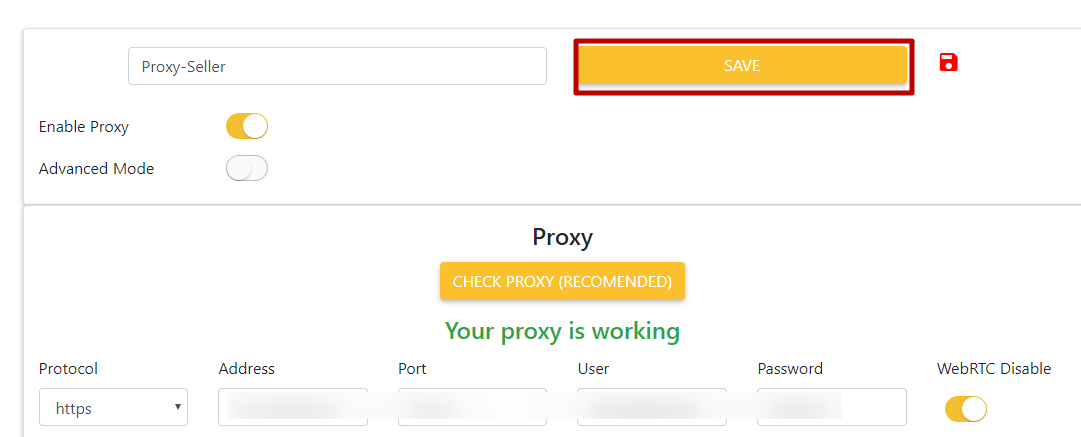
- Press the “SAVE” button.
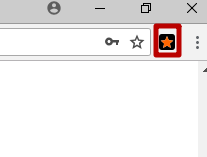
- Now, open the extension with the star icon at the right corner of the browser.
- Choose your newly added profile from the drop-down box.
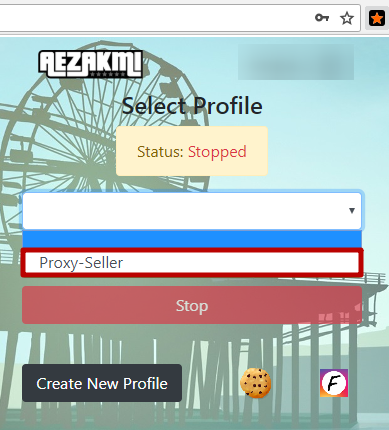
- Press the “A-E-Z-A-K-M-I” button.
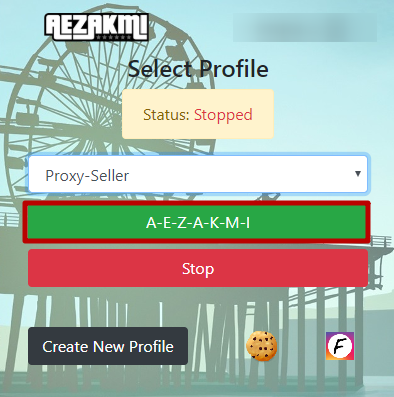
That’s it. The configuration is done and the browser is ready to use.
PROXIES FROM $0.02/IP
Ready to put this into practice?
Pick a proxy type and location, and start using it within minutes.
Instant delivery
24/7 support
Refund policy
About the author