Step-by-step proxy configurations in FreeCap, how to use

Comments: 0

FreeCap is a free application that allows you to redirect connections through a SOCKS server.

Features of FreeCap

In fact, some applications cannot independently connect to the network through SOCKS. This program using a proxy redirects all SOCKS requests.

Applications benefits:

  • Functionality and support of the SOCKS protocols V4 and V5;
  • chains work of SOCKS-servers;
  • authorization option for SOCKS V5;
  • tunneling through an HTTP proxy;
  • start-up with the system feature;
  • functioning in almost all Windows versions;
  • support many popular applications, in particular, Internet Explorer, Mozilla, Opera, and others;
  • XP interface with a set of skins;
  • availability.

Use of FreeCap

Setting up this program will make it possible to work on the network using connection forwarding through SOCKS. This will exclude the search for other programs to work with different services. FreeCap simply redirects all connection requests to the SOCKS server, which will greatly facilitate the work and reduce the time.

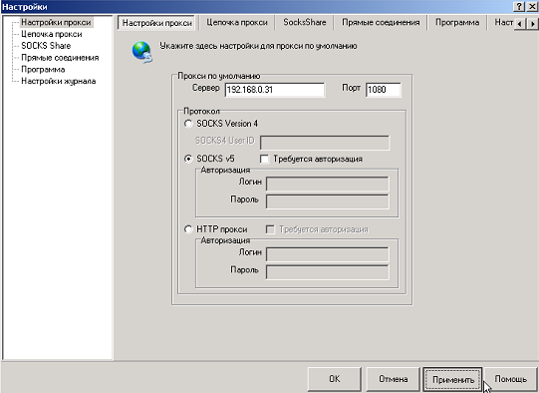
For installation, you only need to provide the necessary proxy provider access parameters that will be used.

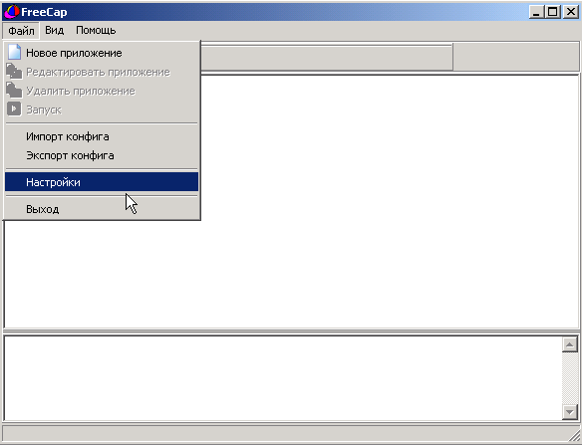
Also FreeCap is allows tunneling the connection through HTTP. What is the CONNECT method used for? When you configure the start-up program of the operating system to automatically start, it will make the whole process faster and more efficient.

Configuration of FreeCap

The program setup procedure is divided into two stages:

  • adding an application that is subject to SOCKS-identification;
  • direct proxy configuration.

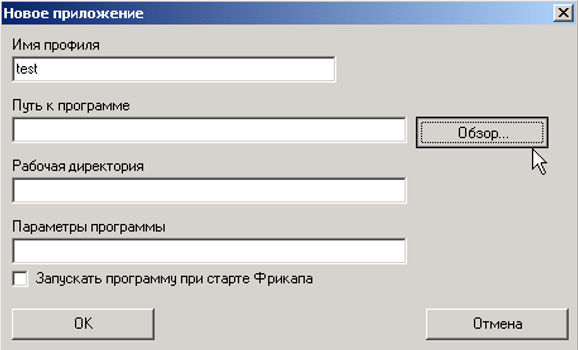
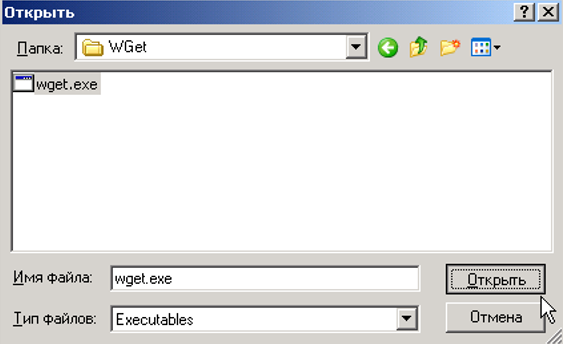
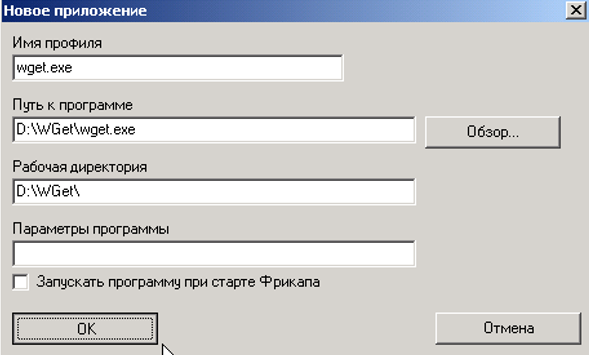
After finishing the setup, run the program by double-clicking from the main window or from the context menu. Next, proceed to add a new application according to the following recommendations.

  1. Press the “Add application” button in the first windows, type the profile name, and choose the required file .exe and press the “OK” button.

    Press the «Add application» button. Type the profile name and choose the required file .exe and press the «OK» button

  2. Open the “New app” window:

    Open the «New app» window

  3. In the opened form you available to type manually or automatically by pressing the “Review” button. Choose the required application and press “Open”:

    In the opened form you available to type manually or automatically by pressing the «Review» button. Choose the required application and press «Open»

  4. FreeCap will scan the application itself and redirect all the necessary information in the profile:

    Press «OK»

Step-by-step proxy configuration for FreeCap

  1. In the application window, open the settings in the “File” category:

    Open the settings in the «File» category

  2. Enter the SOCKS-server and standard port. Press the “Apply” button:

    Enter the IP and port of proxy. Press the «Apply» button

  3. After saving all the changes go to the “Proxy chain” tab. Check the proxy server:

    Go to the «Proxy chain» tab. Check the proxy server

  4. Wait until the status “OK” appeared in the tab:

    Wait until the status «OK» appeared in the tab

  5. Start by pressing the green start button in the upper panel:

    Press the green start button

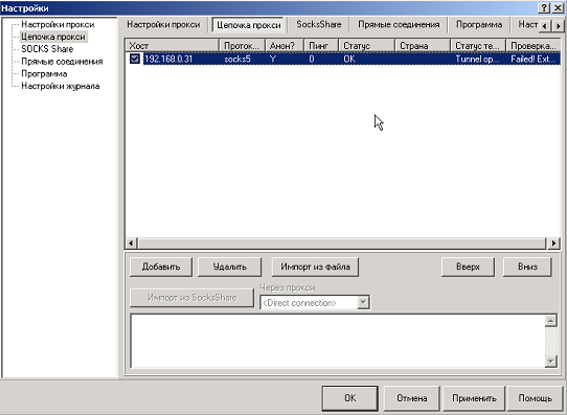
Redirecting through FreeCap is easy to use, works with different operating systems, has a convenient interface, which in combination gives the user the main thing - free movement on the Internet.

Comments:

0 comments