
 en
en  Español
  中國人
中國人  Tiếng Việt
  Deutsch
  Українська
  Português
  Français
  भारतीय
  Türkçe
  한국인
한국인  Italiano
  Gaeilge
  اردو
اردو  Indonesia
  Polski
 The Proxifier app for Android allows users to route all network traffic through proxy servers and supports various proxy protocols such as SOCKS, HTTP, and SSH. It enables saving settings for multiple proxies, facilitating easy switching between them, and allows for tracking and analyzing network activity.
Configuring a proxy server in the app as a gateway enables traffic to be directed through faster routes via apps that lack built-in proxy functionality.
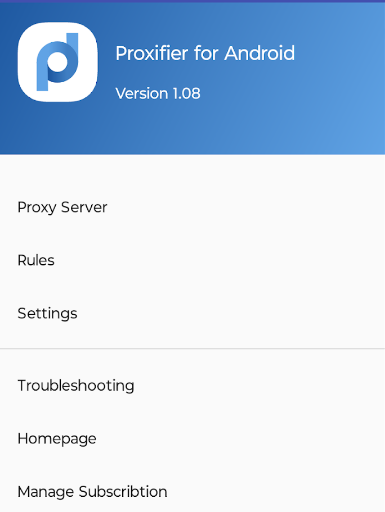
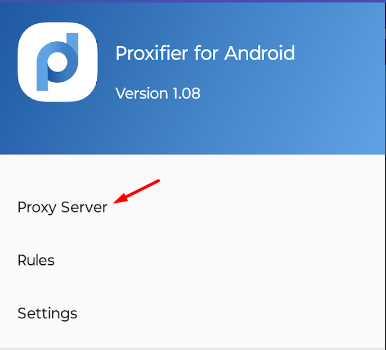
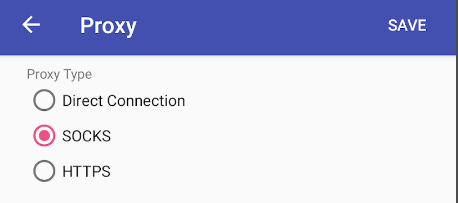
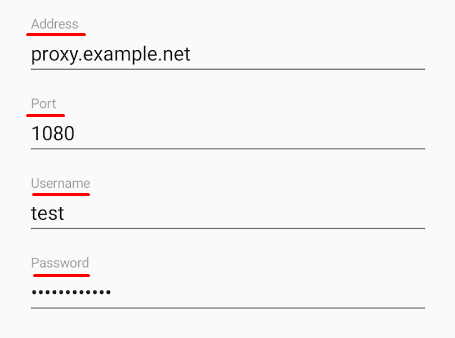
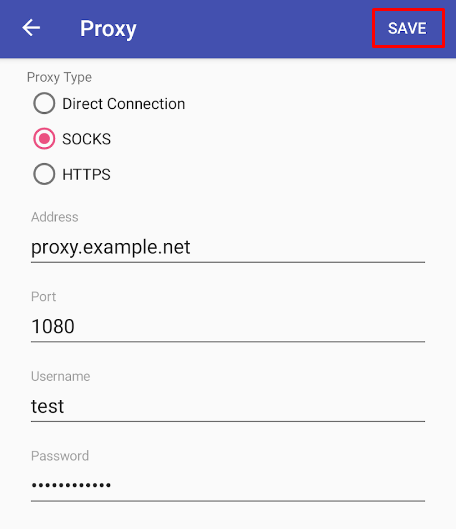
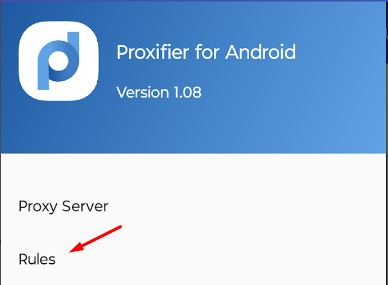
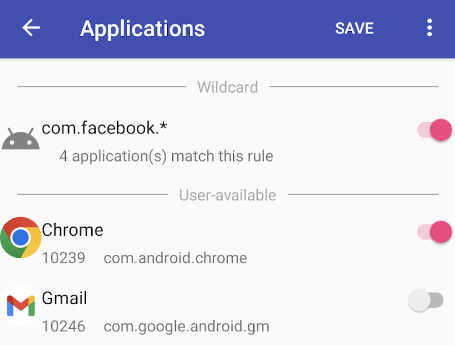
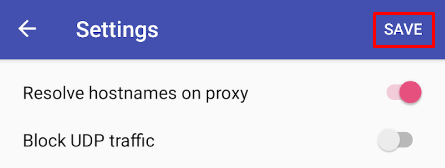
After completing the setup, Proxifier will route the traffic of selected applications through the proxy server. Now, programs that do not have their own proxy setup functionality will operate with the chosen IP. The app's operation on Android will ensure security and privacy in mobile applications, offering the ability to manage settings for multiple proxies.
Comments: 1