Proxy Tutorial for Instato

Comments: 0

Instato is a popular social marketing tool. It`s a bot for Instagram growth. The functionality is quite good: Auto follow / like, comments, unfollow, auto DM, and post are available to any user. But it requires the proxy servers, so how to configure it?
Step-by-step proxy configuration for Instato

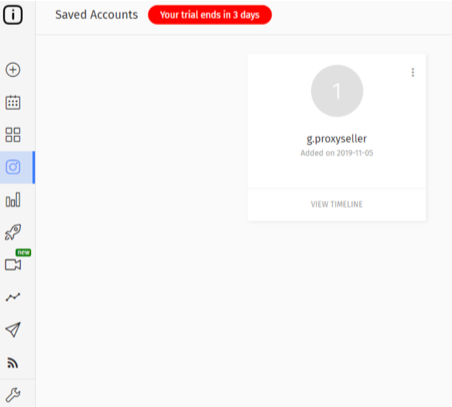
  1. You should log into your account on Instato.
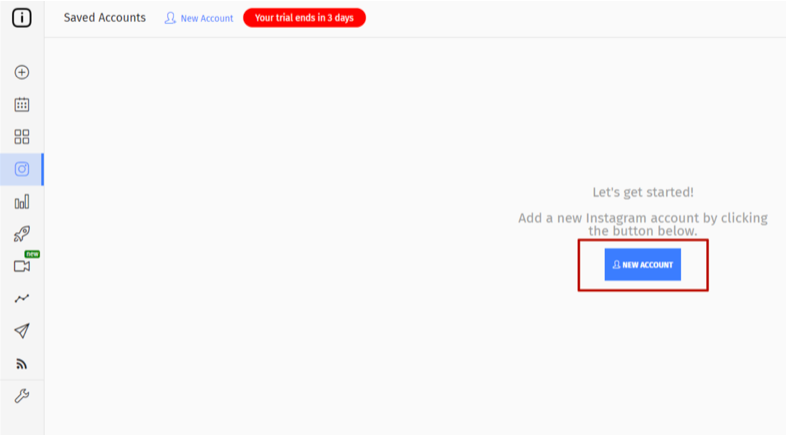
  2. After that, in your dashboard, there are available "NEW ACCOUNT" button appears. Press it.

    Press «NEW ACCOUNT» button

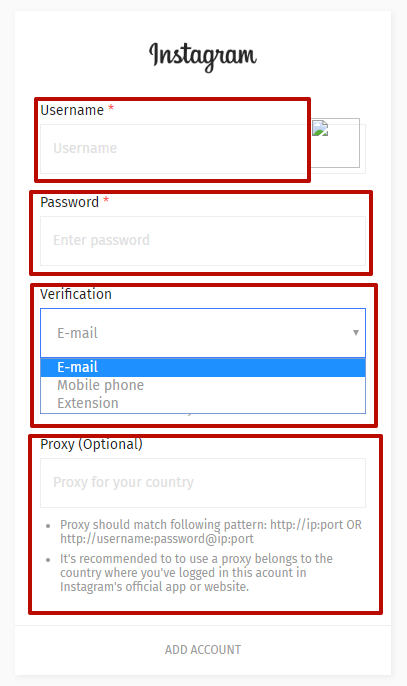
  3. Instagram authentication appears. In the Username and Password field, you need to enter the username and password of the Instagram account, verification drop-down box should be chosen optionally, the proxy should be used only of a country that account was created. The format of entering the proxy data is: http://ip:port or http://username:password@ip:port - this data can be found in your order submission mail of purchased proxies. We recommend using only elite private proxies. And press "ADD ACCOUNT".

    Enter the data of the Instagram account and proxy server. Press «ADD ACCOUNT»

  4. That`s it. If the configuration is done properly there won`t be any errors. If you have any - try to check your entered data. It is important to understand proxy types.
  5. After that, you will be able to work with the account.

    You will be able to work with the account

Comments:

0 comments