
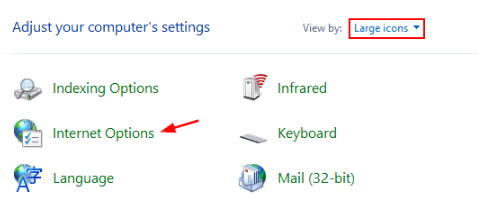
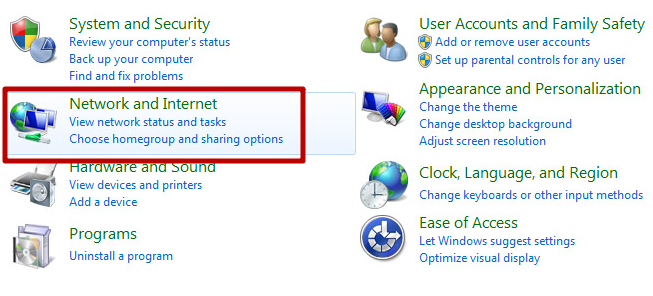
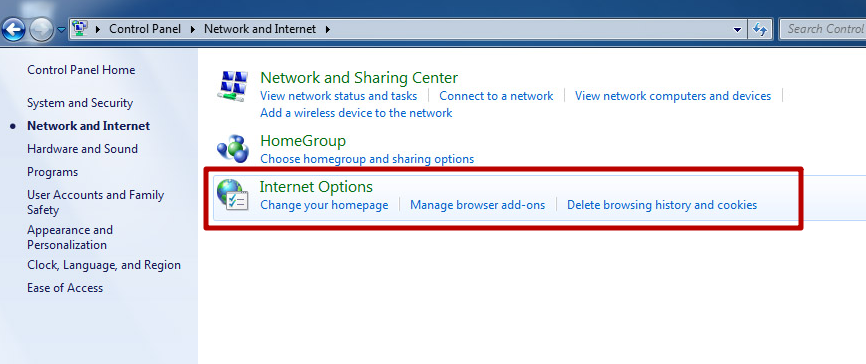
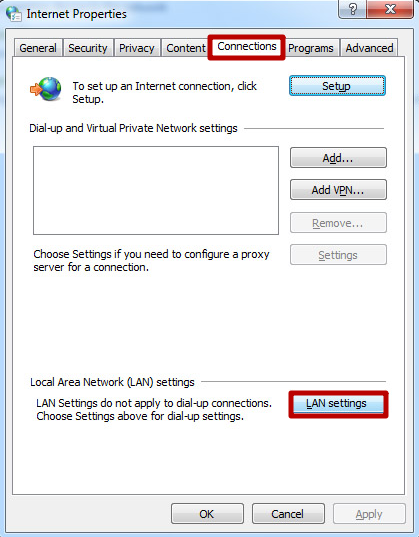
It is important to know how to install a proxy for a particular OS. In different types of windows, while setting up there are some nuances. Let`s see how to configure proxies for Windows 7.
Today, proxy settings can be reproduced by the Windows 7 system itself or by a special program (utility). Consider how to configure it yourself.


After the necessary steps with the proxy on Windows 7 are done, you need to open any browser. A notification appears about the need for authorization. Enter the username and password. For servers that are authorized by IP, these steps are not necessary.
Sometimes the settings is not correct on the first attempt on Windows 7 through a proxy. There is no need to despair in this situation. Go through all the steps again, relying on the step-by-step instructions "How to install proxies on Windows 7". After a successful setup, you can proceed to comfortable surfing the Internet through a proxy server.
Almost all modern browsers use the system settings of the proxy server. Therefore, when you turn them off in Windows 7, they also turn off in the browser (except for Mozilla Firefox).
Disabling proxies can be resorted to when the following problems occur:
If due to the above or some other reasons, you need to disable the proxy server in Windows 7, you should use the universal method.
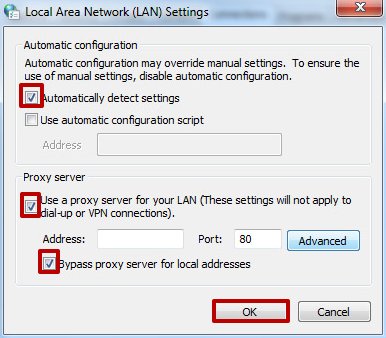
After applying these settings, the proxy server in Windows 7 will be disabled. At the same time, it will not work in the browser. When the reasons for disconnection are eliminated, the proxy can again be connected in a known manner.

 PHP
PHP Node.js
 Python
 Java
Java Golang
 en
en  Español
  中國人
中國人  Tiếng Việt
  Deutsch
  Українська
  Português
  Français
  भारतीय
  Türkçe
  한국인
한국인  Italiano
  Gaeilge
  اردو
اردو  Indonesia
  Polski
Comments: 0